Installing BBx 22.x and Higher
Use this guide to install BBx version 22.00 and higher. For stand-alone and earlier product versions, see Installing PRO/5 and Installing BBj.
For information on configuring BBx, see Configuring BBx.
BBx 22.00 and higher is installed with the BASIS Custom Installer (BCI), and can be run in both Graphic User Interface (GUI) and Character User Interface (CUI) environments. The Installer requires Java to be installed on the system in order to run.
Installing a Java Development Kit (JDK) is required for a BBj installation to take advantage of the full scope of BBj features. Refer to the Platform Availability list for supported versions of Java. The list includes links to download JDKs for all BBj-supported operating systems.
Note:
The recommended BBj PRO/5 Data Server will be started on port 1100. If the older stand-alone PRO/5 data server is running, it will be stopped during installation to avoid a port conflict. Please ensure that the older data server is not configured to run automatically. If the older data server is still required (as in some rare cases for printer configuration), it will be necessary to change the port configuration (see Configuring BBx).
Overview of BBx
BBx brings together the latest versions of PRO/5, VPRO/5 and BBj into an installation that is pre-configured to allow for seamless integration between these components. By taking advantage of the ability for PRO/5 and VPRO/5 to cooperate with BBj, users can benefit from updated features and enhancements without needing to re-configure systems or convert data to new formats.
This cross-generational integration is achieved through the XCALL service (PRO/5 and VPRO/5) and the Memory Mapped Protocol (PRO/5) for accessing the BBj DBMS, the recommended database management system. The BBj PRO/5 Data Server and XCALL service will be used by default by the interpreter when using the installed configuration. For more information on these features, see the Advantage articles PRO/5 Automatically Get 15-Years of DBMS Enhancements and If it's Easier in BBj, Then Just XCALL it Forward.
Download BBx
The initial download consists of only the installer. During the installation, you will be able to select which packages to install, and only the selected packages will be downloaded.
-
Downloads are available at: https://www.basis.cloud/bbj-downloads/
-
Select Product
Select the revision you wish to download:

-
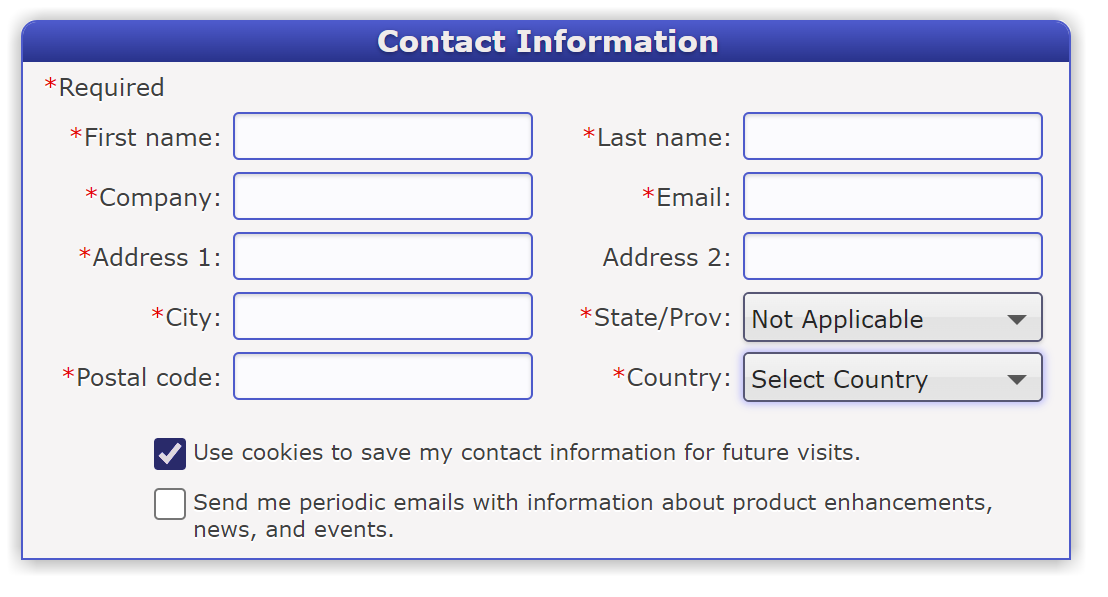
Contact Information
Fill in the required information:
-
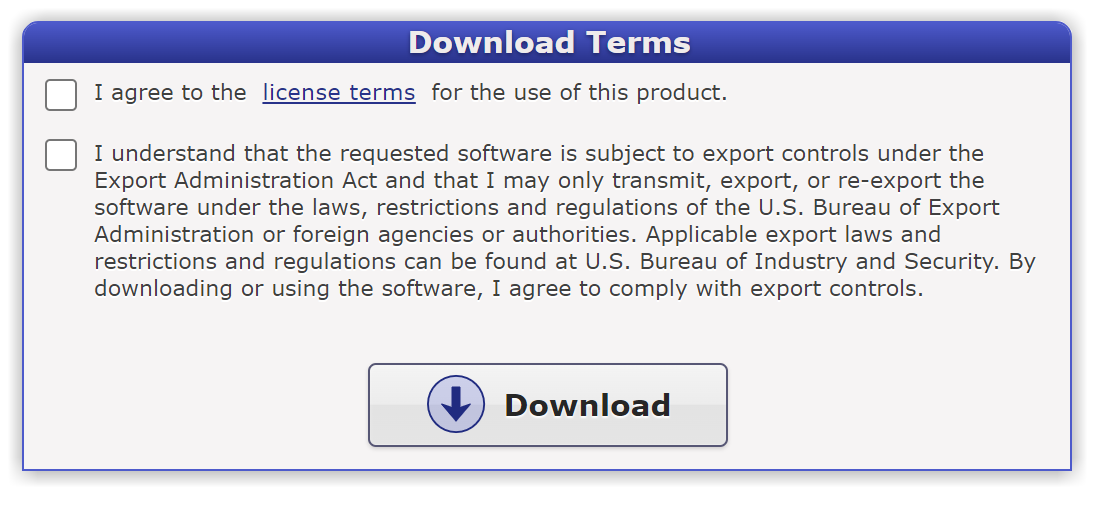
Download Terms
Complete the following:
-
Click "I agree to the license terms..." and "I understand...".
-
Click [Download] to start the download.
-
Install BBx
-
The download will arrive in the form of an executable Java archive (.jar) file named in the following format: BBX<revision>_<date>_<time>.jar
Example: BBx22_03-13-2023_1451.jar
-
Launch the installer:
On Windows and Mac systems, double-click the executable .jar to launch the installer. If you are working from a command line, execute the following command to launch the installer:
java -jar <jar_file_name>
If Java file associations differ and do not run the file automatically, execute the following so Java runs the file:-
Windows:
%JAVAHOME%\bin\java -jar <jar_file_name> -
macOS and UNIX:
%JAVAHOME%/bin/java -jar <jar_file_name>
-
-
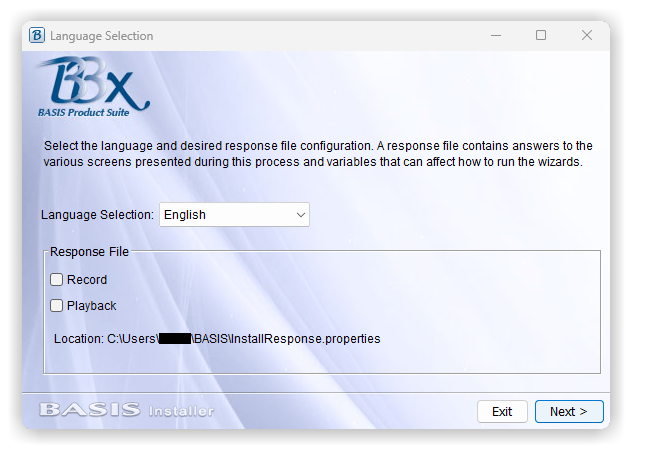
Language Selection
Choose the language you wish to use to run the installation.
Also visible on this panel is the Response File group, with the following checkbox options:
-
Record - Checking this box will record the installation so that it can later be played back in an interactive or silent installation where no user interaction is needed.
-
Playback - This box will be checked if the installation was launched with a previously recorded response file.
After selecting your options, click [Next].
-
-
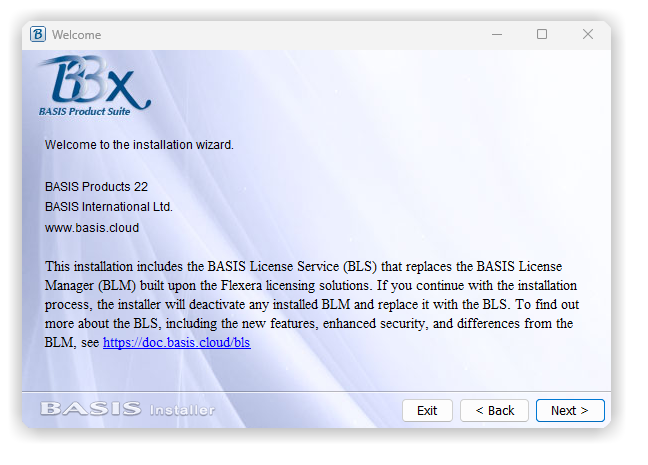
Welcome
A welcome message appears with a link to the BLS Overview. Click [Next] to continue.
-
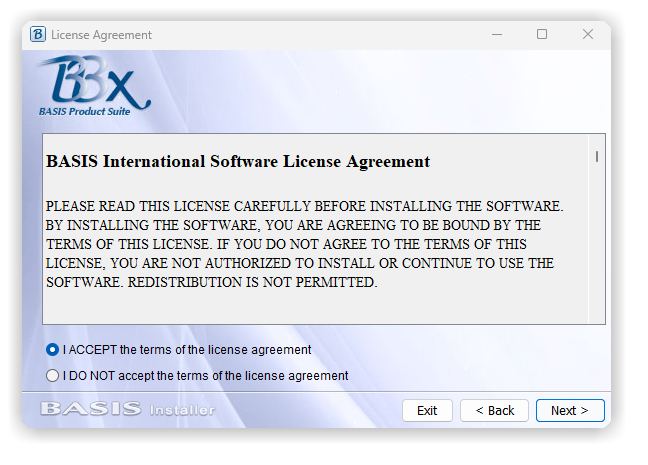
License Agreement
If you agree with the terms, select "I ACCEPT..." and click [Next].
-
Directory Selection
Click [Next] to accept the default installation path, or select a new path to install BBx by clicking [Browse] or by typing a file path.
Note:
This directory will be used as the base directory for the BBj installation, and PRO/5 will be installed to a subdirectory within it.
Operating System Default File Path Windows C:\bbx macOS /Applications/bbx Other operating systems /usr/local/bbx 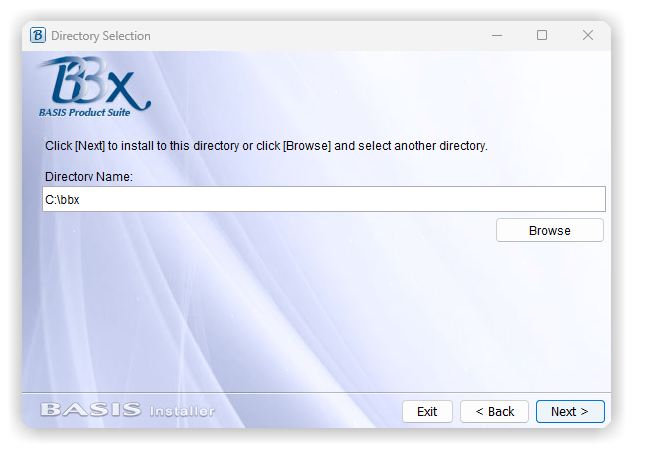
-
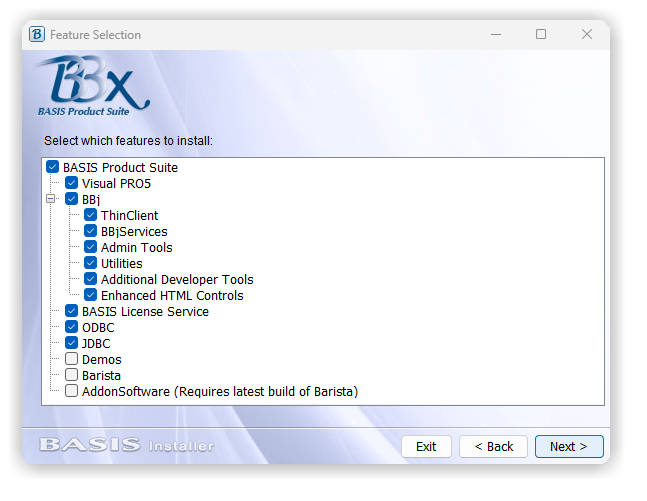
Feature Selection
Select or deselect features. Only the selected features will be downloaded and installed. Click [Next] to continue.
Note:
The "Enhanced HTML Controls" package is required for the Chromium-based BBjHtmlEdit and BBjHtmlView controls, with support for HTML5, CSS, and JavaScript. Without this package, those controls will not support all the features of an embedded browser.
-
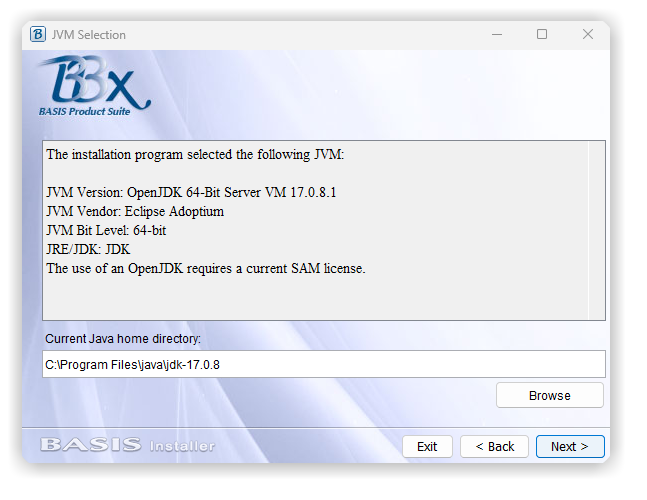
JVM Selection
As mentioned in the beginning, a Java Development Kit (JDK) is required to enable the full scope of BBj features. If the panel does not display a JDK, use the [Browse] button to locate the JDK install directory. Refer to the Platform Availability list for supported versions of Java. Click [Next] to continue.
-
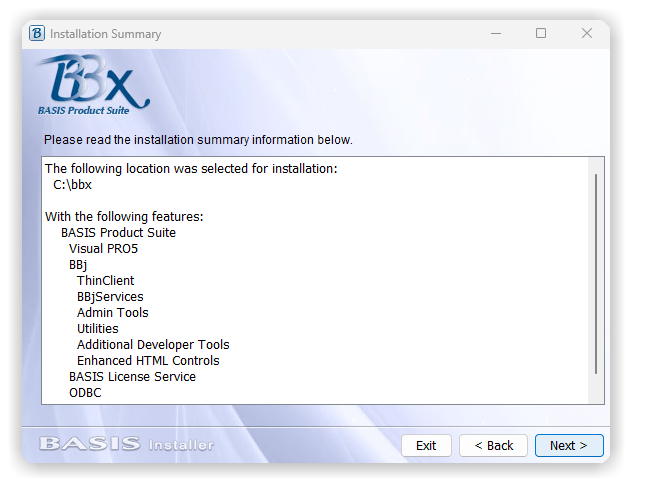
Installation Summary
This panel summarizes the options chosen in the previous steps. If an option/configuration is incorrect, you may click the [Back] button to return to the panel where you picked the option/configuration. Click [Next] to start the installation.
-
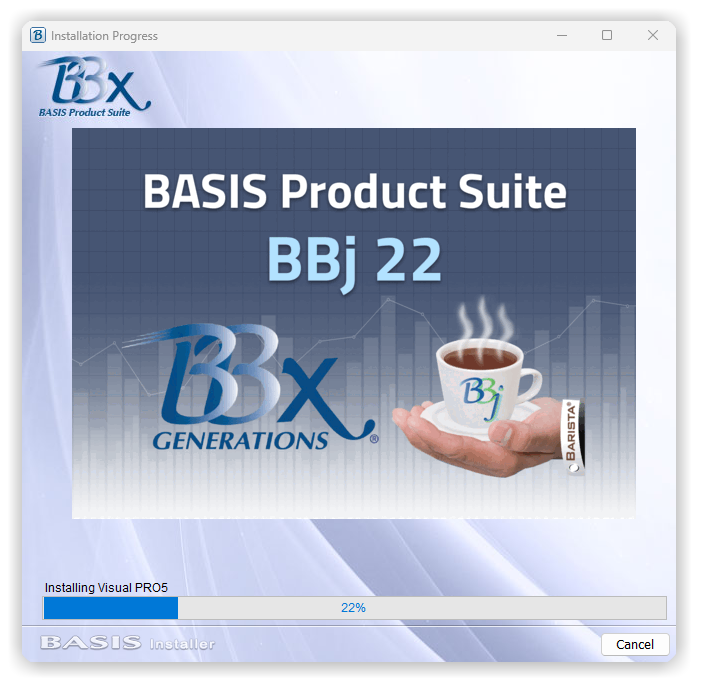
Installation Progress
This panel displays the progress of the installation and the JAR downloads.
-
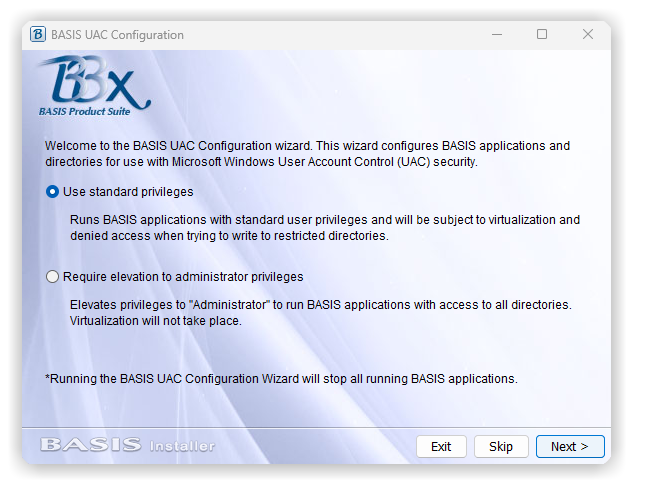
BASIS UAC Configuration
After the installation progress is complete, the BASIS UAC Configuration wizard appears with two options:
-
Use standard privileges - (Recommended) Runs BASIS applications with standard user privileges.
-
Require elevation to administrator privileges - Elevates privileges to 'Administrator'.
Select an option and click [Next].
-
-
BASIS License Service (BLS)
If you chose to download the BLS during Feature Selection, go to Installing BLS with BBx, Step 11. Otherwise, stay on this page and continue to Step 13.
-
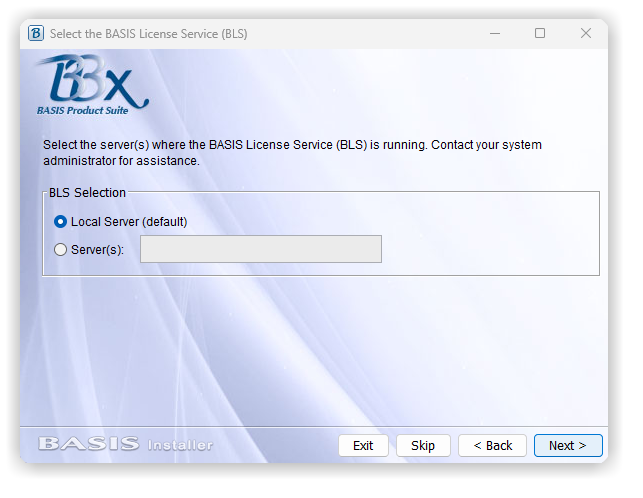
Select the BASIS License Service (BLS)
Select the server(s) where the BLS is running and click [Next].
-
Local Server (default) – A licensed BLS runs on your local machine.
-
Server(s) – A licensed BLS runs on a remote machine. Enter the server information in the text field.
-
-
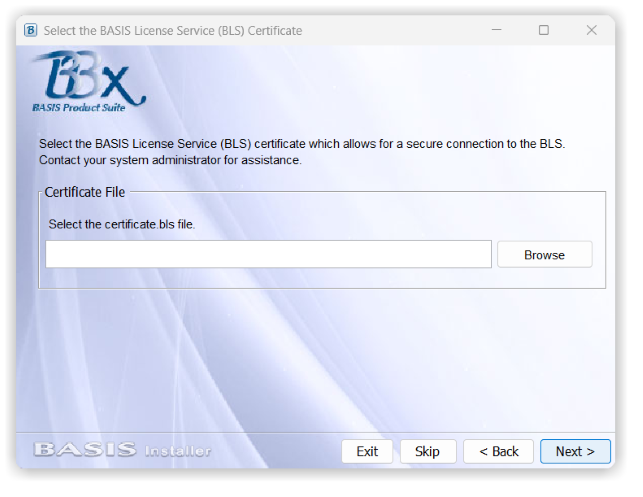
Select the BASIS License Service (BLS) Certificate
Use the [Browse] button to locate the certificate file in your designated directory. Click [Next].
-
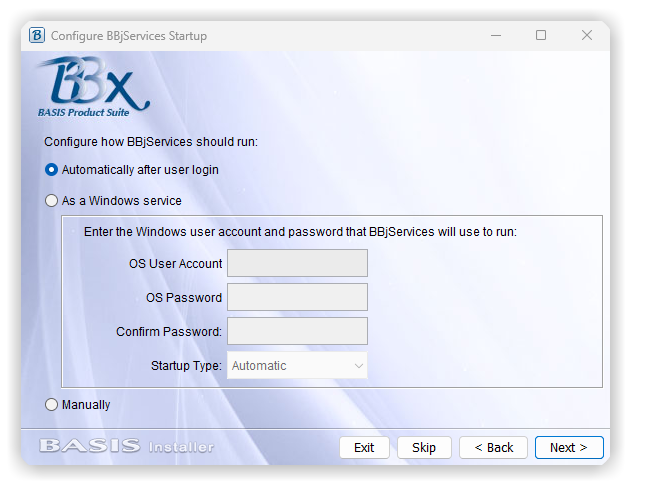
Configure BBjServices Startup
Three options appear for configuring BBjServices:
-
Automatically after user login – BBjServices start after the user has logged in (For Linux users: This option requires root permissions).
-
As a Windows service (Microsoft Windows-specific) – As long as the Startup Type is Automatic (recommended), BBjServices start when Windows starts. Complete the User Account and Password fields that BBjServices should use to start.
Note:
The user account should be a member of the Administrators group.
-
Manually – BBjServices start and stop manually through the Administration Wizard Menu.
Select an option and click [Next].
-
-
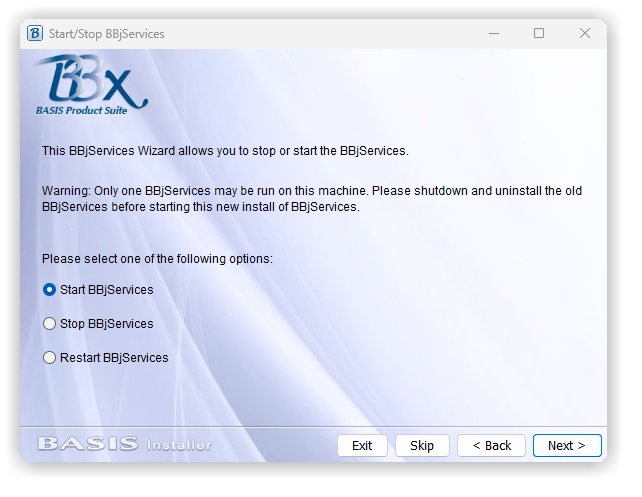
Start/Stop BBjServices
Select one of the following and click [Next]:
-
Start BBjServices
-
Stop BBjServices
-
Restart BBjServices
-
-
Wizard Process Complete
The installation is complete, click [Finish].