JnlpExePacker Usage Guide
The JnlpExePacker utility gathers all the necessary information for a JNLP (Java Network Launching Protocol) application from a local or remote BBj installation. It creates a self contained package with all of the files necessary to launch the BBj Interpreter and run the BBj program defined in the JNLP application.
Getting Started
There are two ways to get started with the JnlpExePacker utility: either download a stable release using the Plugin Manager tool, or download the latest development build from its GitHub repository.
Method 1: Download Using the Plugin Manager
This is the recommended method for most users, as it provides access to all stable released versions of the JnlpExePacker, as well as a convenient method for detecting and applying updates.
For detailed instructions on using the Plugin Manager, see the BBj Plugin Manager Usage Guide.
-
Open the Plugin Manager by running the <bbjhome>/plugins/PluginManagerLauncher.bbj program as a BBj program.
-
Select the “Available Plugins” tab.
-
Select the JnlpExePacker entry from the grid, then click on [Install].
Note:
After the installation, the JnlpExePacker utility can be found at <bbjhome>/plugins/JnlpExePacker
Method 2: Direct Download
This method is not recommended for most use cases, as it will provide you with the latest development (master) build of the JnlpExePacker rather than the stable released versions. Only use this method if you require access to an unreleased version of the JnlpExePacker, or if instructed to do so by BASIS Support.
-
Navigate to the following URL using the browser of your choice: https://github.com/BBj-Plugins/JnlpExePacker
-
Click [Clone or download].
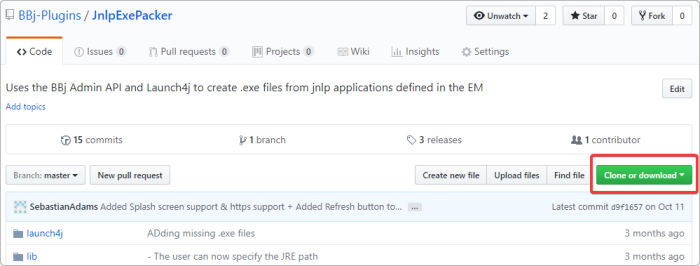
- Then click [Download ZIP].
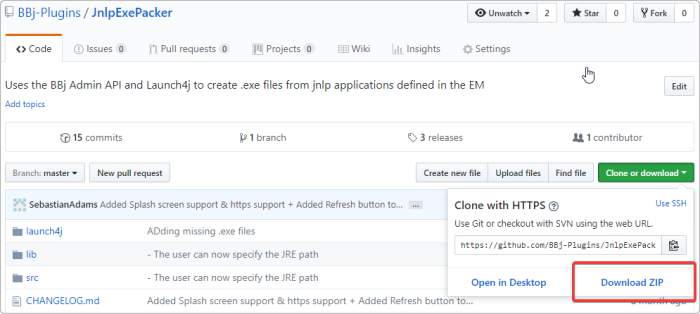
- Once the archive is downloaded, extract the content to a directory of your choice.
Usage
-
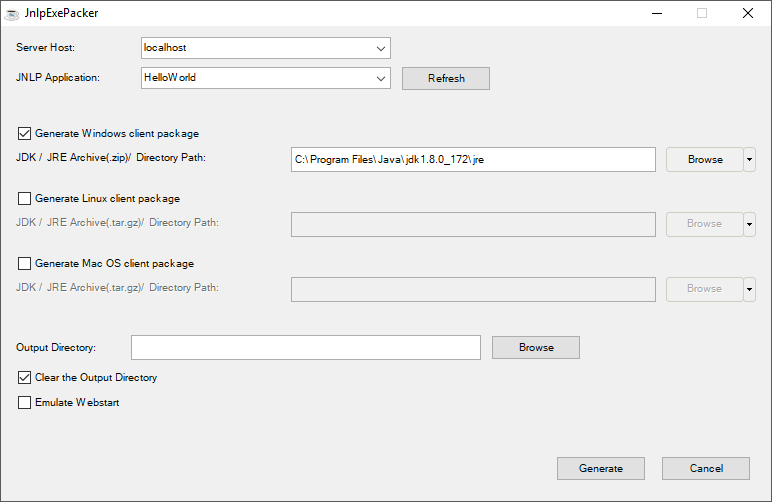
Run the ExePacker.bbj program from the JnlpExePacker package.
-
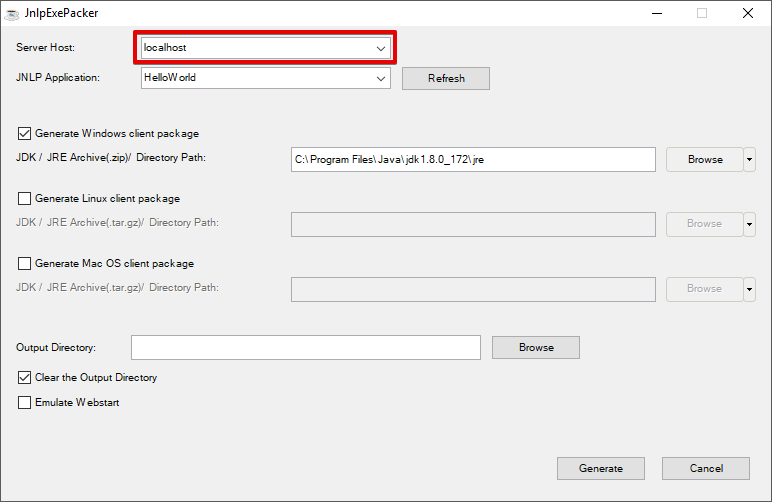
Select the server that hosts the JNLP application you wish to “pack”.
Note:
The dropdown only contains “localhost” by default. You can expand this list by editing the entry in the BBjListEdit and then pressing Tab or Enter.
-
Select the JNLP application you want to “pack”, in this case “HelloWorld”:
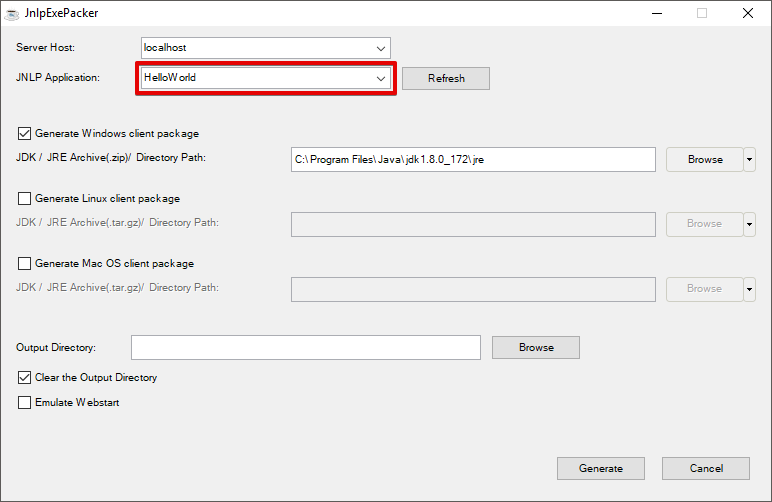
Note:
See Enterprise Manager - JNLP: Applications for information on deploying an application through Enterprise Manager so that it is available to be selected from the dropdown menu in the JnlpExePacker.
-
Select which client packages you would like to generate (you can choose more than one).
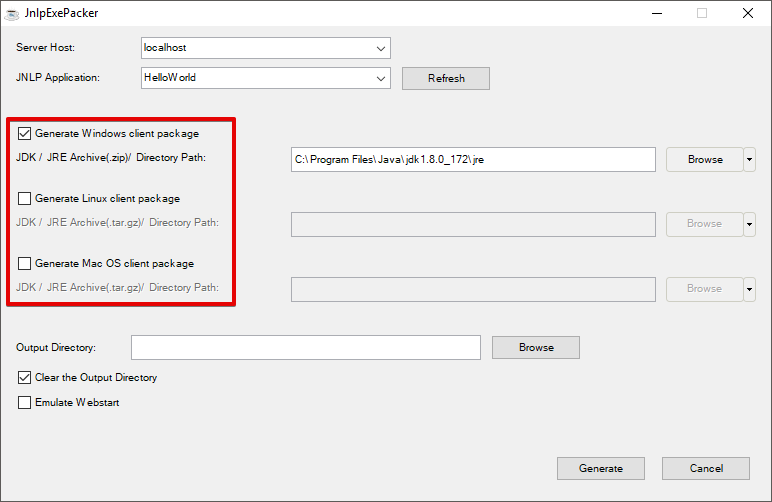
-
Select the JRE to use for each client package selected. If you wish to select a directory rather than an archive file, select the arrow by the [Browse] button and select [Browse for Directory].

Note:
By default, the JRE from the local BBj installation is set.
-
Select the output directory for the package.
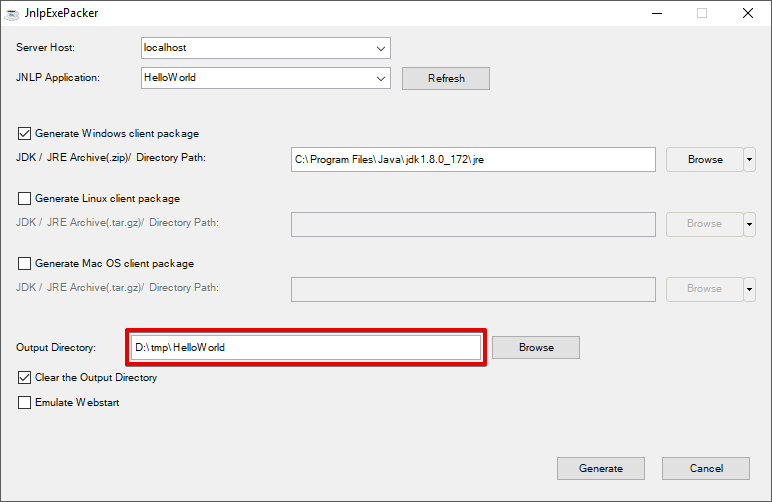
Note:
The JnlpExePacker utility only supports the use of one application per output directory, because some additional files are created which will be overwritten by subsequent uses of the utility (see Output below for the list of files which are created).
-
If the "Clear Output directory" checkbox is checked, the JnlpExePacker utility will clear all files in the selected output directory before generating the package. Ensure that this option is either checked or unchecked, according to your expectations.
-
If the "Emulate Webstart" checkbox is checked, a Web Start emulator will be used with the BBj Thin Client, instead of the standard BBj Thin Client. Use this option if the application relies on the behavior specific to the Web Start client.
Note:
Leaving this box unchecked will prevent SCALL from working correctly, and may also prevent MDI applications (including Barista) from executing successfully.
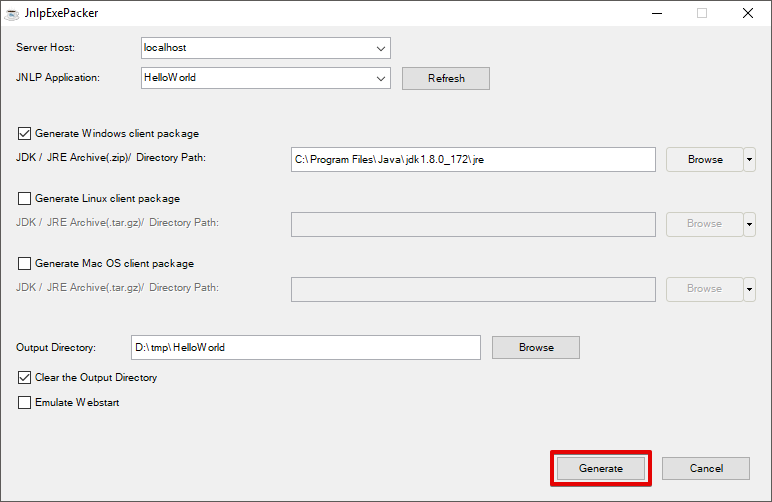
-
Click on [Generate] to “pack” the JNLP application into the specified directory.
Output
After the JnlpExePacker completes the generation process, the output directory should contain a directory for each client package generated:
|
windows/ |
|
mac/ |
|
linux/ |
Each of these directories should contain the following elements:
|
jre/ |
The selected Java JRE |
|
lib/ |
The required libraries to run the .exe or .sh files |
|
res/ |
(Optional) The icon files to use for the .exe or .sh and/or the splash screen |
|
config.xml |
(Optional) The config used to create the .exe or .sh file |
|
<Application Name>.exe |
The .exe file (Windows only) |
|
<Application Name>.sh |
The .sh file (Mac and Linux only) |
At this point the output directory can then be zipped, and the .zip file can then be deployed to the client machines. On the clients, unzip the archive file and execute the .exe or .sh file to run your application.
Important Differences from Web Start
The JnlpExePacker utility covers much of the same basic functionality as Java Web Start (deprecated in Java 11), but there are some important differences that affect how the utility must be used and managed:
-
Prior to BBj 19.10, the JNLP file must specify every JAR file that is needed at execution time in order for the JnlpExePacker to create a successful executable. This was not the case in Java Web Start, where index JAR files (JnlpIndex.jar and JnlpExtIndex.jar) were used to download the JAR files as needed.
-
The JnlpExePacker utility does not have an automatic update system, as there was in Java Web Start. This means that after an update to any components included in the application (such as BBj or Java), it must be re-packaged and re-distributed for the update to take effect.
Note:
With the classpath changes in BBj 19.10 and higher, it is no longer necessary to specify every JAR file, so long as the classpath is configured correctly. See Migrating to 19.10 and Session-Specific Classpath for more information on the changes in BBj 19.10 and SSCPs in general.
See Also
BBj Plugin Manager Usage Guide