Standard Grid Control Tutorial 1: Display-Only Grid
For BBj-specific tutorials, see Grid Tutorial 1- Standard Grid Using SENDMSG() functions and Grid Tutorial 2 - Standard Grid Using BBjGrid Methods.
The Visual PRO/5 grid control comes with dozens of features for formatting and manipulating information; most programs will only use a few of the available features.
In general, there are three steps to follow when working with a standard grid control.
-
Create the basic grid control using either a resource file (ResBuilder and the 'RESOURCE' mnemonic) or the 'GRID' mnemonic.
-
Define various grid attributes using SENDMSG() functions.
-
Have the user interact with the grid using Notify events processed in an event loop.
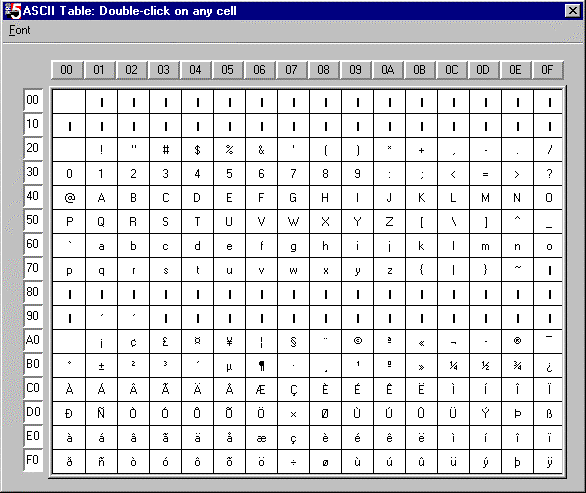
The application in this example is a simple ASCII table. It shows a complete character set in a 16x16 grid. A menu system is provided for changing the current font. Double-clicking on a cell displays the character from that cell, as well as its decimal and hexadecimal values.
Defining the Window and Menu
-
Open the SYSGUI device (it is assumed that the device is defined in the config.bbx file as ALIAS X0 SYSGUI) and create a main window for this application. Define a menu bar (option flag $0800$) and a close button (option flag $0002$).
sysgui=unt
open (sysgui)"X0"
print (sysgui)'window'(20,40,580,450,"ASCII Table: Double-click any cell",
: $00000802$,$$) -
Get a list of all the fonts defined in the system and create a Font menu:
menu$="&Font,9999,,"+$0a$
fonts=pos($0a$=ctrl(sysgui,0,9),1,0)
dim font$:"name["+str(fonts)+"]:c(16*=10)"
font$=ctrl(sysgui,0,9)
for font=1 to fontsmenu$=menu$+" "+font.name$[font]+","+str(font)+",,"+$0a$
next font
menu$=menu$+$0a$
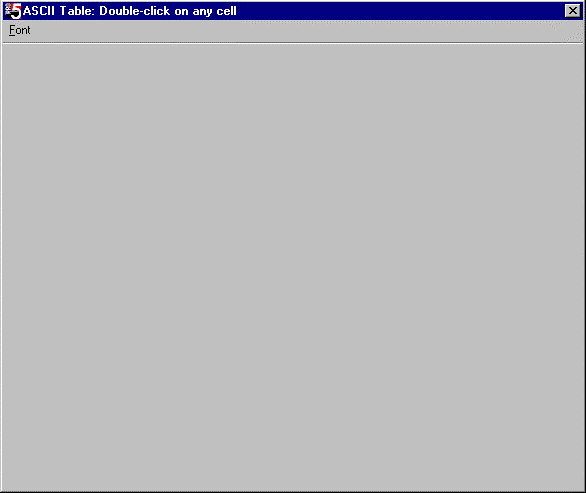
print (sysgui)'setmenu',menu$Here is how the window will appear immediately after executing the code written thus far:
Creating the Grid Control
-
Define control IDs for the main grid, column headings, and row headings:
grid=100,colid=101,rowid=102
-
Create the base grid control. The table following the code explains the meaning of the mnemonic arguments:
print(sysgui)'grid'(grid,20,20,544,430,$9846$,16,16,16,20,colid,20,rowid)
Argument
Description
grid
Grid control ID (main)
20,20,544,430
Grid location and size (X,Y,W,H)
$9846$
$8000$ = Vertical lines between columns
$1000$ = 3-dimensional raised edge
$0800$ = 3-dimensional client edge
$0040$ = Horizontal lines between rows
$0004$ = Grid has a row heading
$0002$ = Grid has a column heading
16
Initial number of rows
16
Initial number of columns
16
Maximum number of columns
20
Width of the grid column heading
colid
Grid control ID (column heading)
20
Height of the grid row heading
rowid
Grid control ID (row heading)
For this example, the window and grid are defined using Visual PRO/5 code. In a production program, it is usually easier to define windows and controls using ResBuilder. Column and row headings are separate grids that work with the main grid.
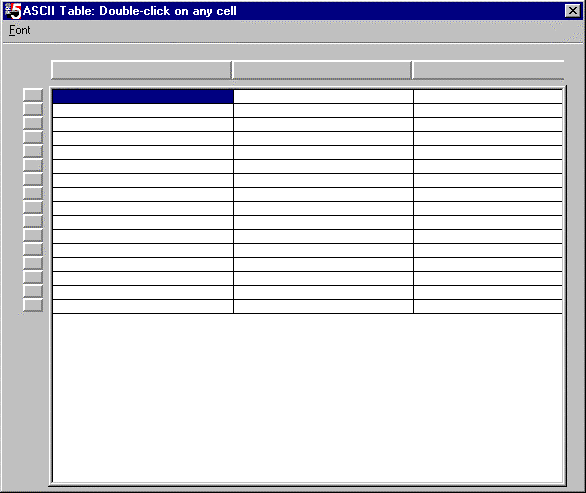
The following is an example of the grid immediately after executing the 'GRID' mnemonic:
-
Use Set Up Grid - SENDMSG() Function 30 to set column widths to 32 pixels each, not adjustable by the user:
dim ts$:"rows:u(4),cols:u(1),colwidth[16]:u(2),interspace[16]:u(2),
usersize[16]:u(2)"
ts.rows=16,ts.cols=16
for col=1 to 16
ts.colwidth[col]=32
next col
result$=sendmsg(sysgui,grid,30,0,ts$); rem ' initialize grid -
Set the row height to 24 pixels:
result$=sendmsg(sysgui,grid,68,24,$$); rem ' set row height
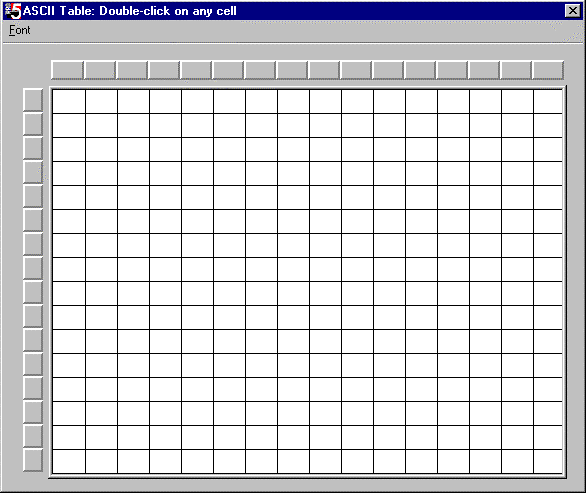
The following is an example of the grid after applying the adjustments:
-
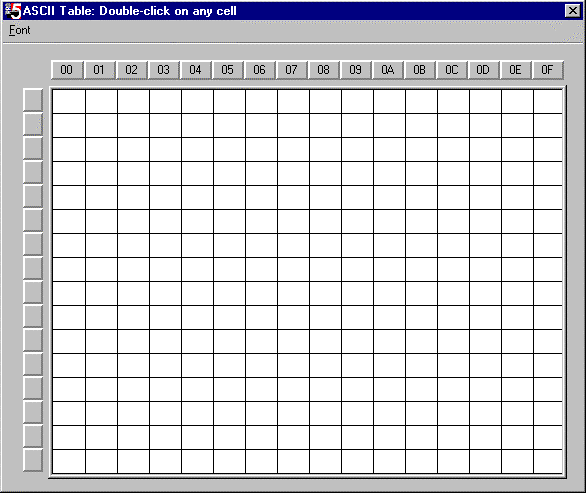
Set the column headers to 00, 01, 02, ... , 0D, OE, OF (0 through 15 in hexadecimal), using Set Cell - Grid SENDMSG() Function 22:
for col=0 to 15
result$=sendmsg(sysgui,colid,22,col,hta(chr(col))); rem ' set column headers
next colOnly the data in column headers is permanently cached, so only column headers will be set in this manner. The row header and main body cells are filled using a different technique, which is described below.
-
Deselect all cells.
result$=sendmsg(sysgui,grid,32,0,$$); rem ' deselect all cells
-
Grid information blocks will be used to load data in the main grid and the row heading grid. Use a variation of the TMPL() function to assign templates and change the style of the row heading grid to recessed button:
dim grid$:tmpl(sysgui,ind=1)
grid$=sendmsg(sysgui,grid,20,0,$$)
dim row_head_grid$:tmpl(sysgui,ind=1) -
Before starting the event loop, force a redraw of the main grid. This generates the Notify events that cause the event loop to execute routines for filling cells with data.
result$=sendmsg(sysgui,grid,76,0,$$)
The completed table appears below:
Defining the Event Loop
-
With the grid completed, a standard event loop is entered until the user enters another command. For additional information on event loops, see "Event-Driven GUI Programming with Notify and SENDMSG() " in the Spring 1998 BASIS Advantage magazine at https://www.basis.cloud/.
dim event$:tmpl(sysgui),generic$:noticetpl(0,0)while 1
read record(sysgui,siz=len(event$))event$ if event.code$="N": then
: generic$=notice(sysgui,event.x);
: dim notice$:noticetpl(generic.objtype,event.flags);
: notice$=generic$The grid control is a presentation structure only; it does not necessarily retain the data in a cache, except column headers, which are always cached. From time to time, the grid will request an update of one or more cells. For this reason, the program will need to maintain a data structure of the data that belongs in the grid, and it must be prepared to hand this information back to the grid control at any time.
-
When the main grid or the row heading grid needs to refresh one or more cells and does not have the data cached, it sends Notify event number 22. When this message is received, code should be executed to redraw the specified cell(s). The values returned in the templated NOTICE$ string control which cells are redrawn. Draw Cell - SENDMSG() Function 54 uses the grid information block to transfer data to the control:
if event.id=grid and event.code$="N" and event.flags=22
: then
: for row=notice.toprow to notice.botrow;
: grid.row%=row;
: for col=notice.leftcol to notice.rightcol;
: grid.col%=col;
: grid.textcolor$=$000000$, grid.backcolor$=$ffffff$
: grid.style%=0
: byte=row*16+col;
: grid.buf$=chr(byte);
: result$=sendmsg(sysgui,grid,54,0,grid$);
: next col;
: next row
if event.id=rowid and event.code$="N" and event.flags=22
: then
: for row=notice.toprow to notice.botrow
: row_head_grid.row=row;
: row_head_grid.textcolor$=$000000$, row_head_grid.backcolor$=$ffffff0$
: grid.style%=2
: row_head_grid.buf$=hta(chr(row*16));
: tf$=sendmsg(sysgui,rowid,54,0,row_head_grid$)
: next rowNote that Notify events cause this code to be executed before user action takes place, thus filling the row header and main grid cells immediately after the program begins.
-
If the user double-clicks on a cell, grid Notify event number 3 will be returned. When this event is trapped, display the character from that cell, along with the equivalent value in decimal and hexadecimal:
if event.id=grid and event.code$="N" and event.flags=3
: then
: byte=notice.row*16+notice.col;
: i=msgbox("Character: "+chr(byte)+$0a$+"Decimal: "+str(byte)+$0a$+
: "Hexadecimal: "+hta(chr(byte)))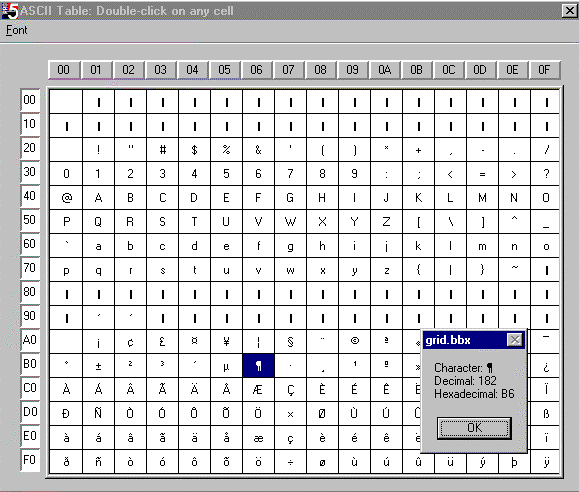
-
Enter code that responds to the user picking a new font from the menu. The 'FONT' mnemonic changes the font on the main grid, then Redraw Grid - SENDMSG() Function 76 causes the grid to be redrawn with the new font. Before redrawing, SENDMSG() Function 68 must be used to keep the cell height at 24 pixels:
if event.code$="C"
: then
: font_name$=font.name$[event.id];
: print (sysgui)'font'(grid,font_name$,0,0);
result$=sendmsg(sysgui,grid,68,24,$$);
: grid$=sendmsg(sysgui,grid,76,0,$$);
rem ' change font & redraw grid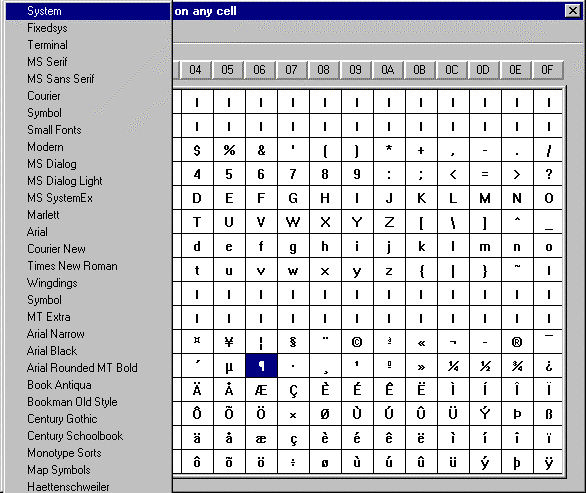
-
End the program with the code to enable the user to terminate the event loop by clicking the close button, followed by the end of the event loop itself and the end of the program:
if event.code$="X"
: then
: break
wend
end
The complete program is listed below:
|
0001 REM ' ASCII Table (Standard Grid Sample) |