Purchase Order Processing - Purchase Order Receipt Entry
Function
Use this task to enter purchase order receipts into the module. Purchase order receipts are made against orders previously entered with the Purchase Order Entry task, but new detail lines can be added to a purchase order during receipt entry. The Purchase Order Receipt Entry task features appear in two tabs; Basics and Dropship. Buttons on the form provide access for [Serial Entry] items and for adding [Comments].
=> To access this task...
Select Purchase Order Receipt Entry from the Purchase Order Processing main menu.
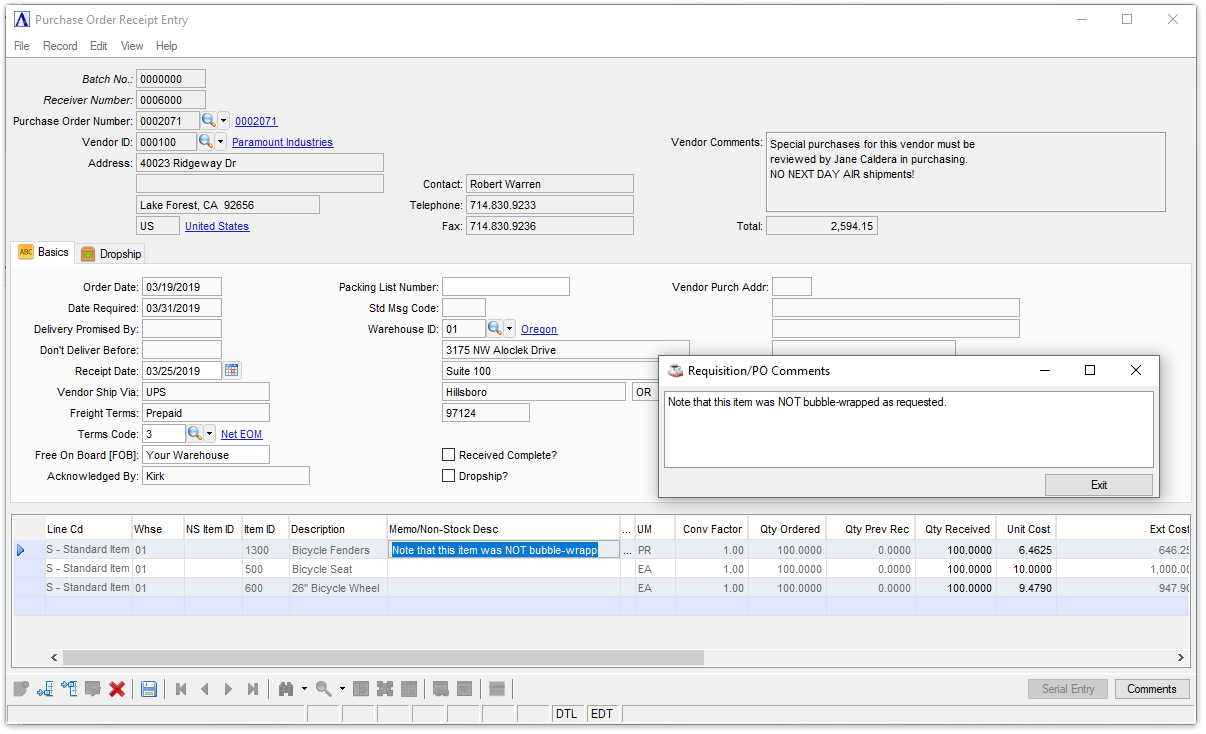
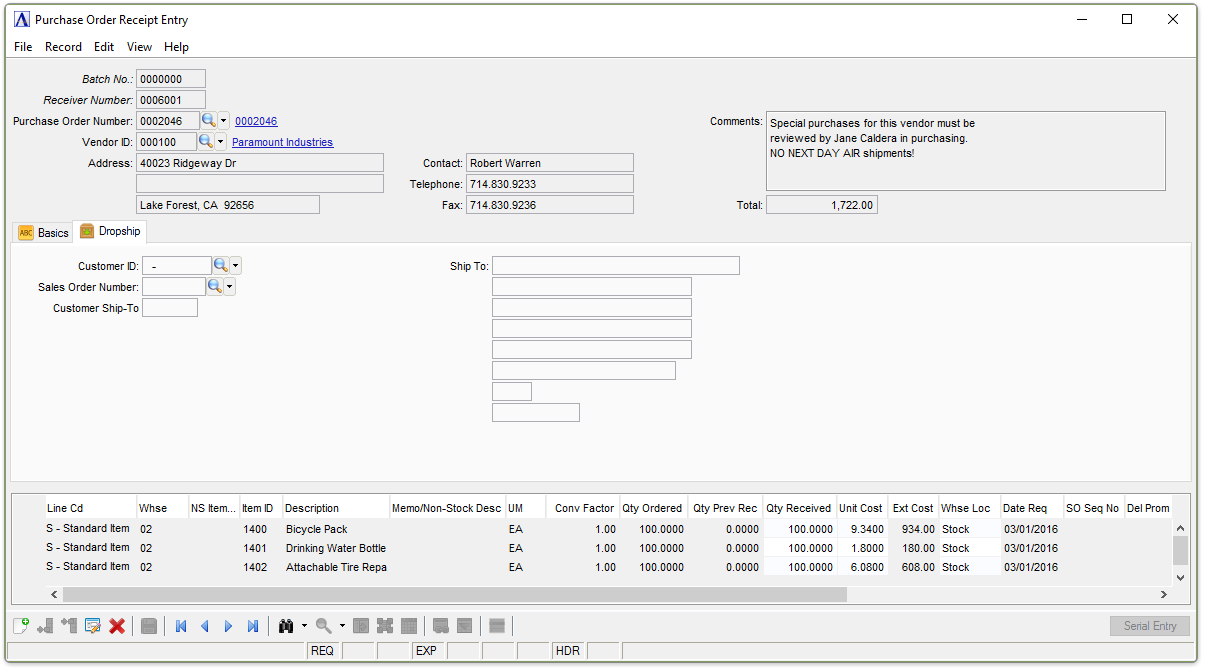
Purchase Order Receipt Entry
About the Fields
The fields of the Purchase Order Receipt Entry task are nearly identical to that of the Purchase Order Entry and Purchase Requisition Entry tasks concerning the heading, ribbon, and detail sections. Begin a purchase order receipt entry from the Receiver Number field by entering a valid receiver number.
To enable edits to the form select  .
.
In the Receiver Number field...
-
Enter a valid receiver number.
-
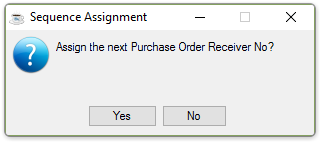
Select [Tab] and the system will assign the next number after the prompt:
-
Click [Yes] to have the system assign the next receiver number.
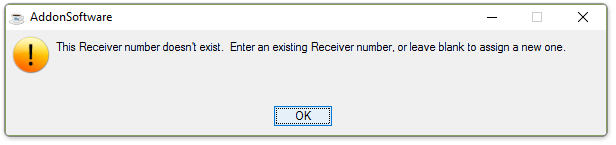
Entering an invalid receiver number results in the following prompt:
In the Purchase Order Number field...
-
Enter a valid purchase order number.
-
Click
 to select from a list of purchase orders.
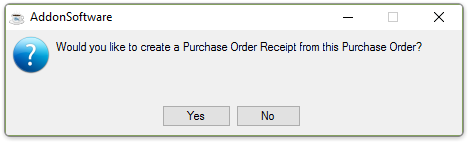
After entering or selecting a valid PO number, the system issues the following prompt:
-
Click [Yes] to have the system create a PO receipt from this purchase order.
-
Click [No] to exit the process.
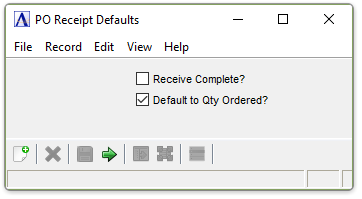
The PO Receipt Defaults window appears when the Yes button is selected. This window provides check boxes to Receive Complete and/or to Default to Qty Ordered to speed the entry process.
-
Check the Receive Complete? check box when orders can be received as ordered with no backordered quantities.
-
Check the Default to Qty Ordered? when the majority of the line items are being received in the quantities on the purchase order and other items will be manually changed from the ordered quantities.
If serialized items are included on the Purchase Order, the system issues the following reminder requiring an additional step noted below to receive such an item.
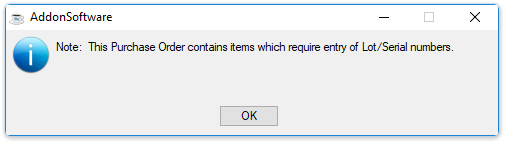
Select [OK] to clear reminder.
When done making selections...
-
Click
 to run the PO Receipt process.
 -
Click
 to clear the form and begin again.
Display only. Entering a valid PO number automatically populates this field as well as the name and address are displayed. If the Display Vendor Comments field in Parameter Maintenance System Parameters is checked, any comments associated with the vendor are also displayed.
Display only. Shows the address of the vendor.
Display only. Shows the name of the vendor contact.
Display only. Shows the phone number of the contact.
Display only. Shows the fax number of the contact.
Display only. If the Display Vendor Comments? field is checked in the Application Parameters task in the Maintenance folder, the comments for this vendor are displayed.
Display only. Displays the dollar total for this purchase order.
Basics Tab (back to top)
Display only. Displays the order date for this purchase order.
Display only. Displays the dollar total for this purchase order.
In the Delivery Promised By field...
Display only. Displays the dollar total for this purchase order.
In the Don't Deliver Before field...
Display only. Displays the dollar total for this purchase order.
In the Receipt Date field...
-
Accept the default date of today.
-
Click
 to select a date by using the calendar tool.
In the Vendor Ship Via field...
-
Enter up to 15 characters for a shipping method or a carrier.
-
Press [Tab] to select the default established in the Application Parameters Maintenance - Default tab.
-
Enter up to 15 characters for freight terms.
-
Press [Tab] to select the default established in the Application Parameters Maintenance - Default tab.
-
Enter a valid terms code.
-
Click
to select from a list of terms codes. -
Press [Tab] to select the default established in the Vendor Maintenance task of the Accounts Payable module.
In the Free On Board (FOB) field...
-
Enter up to 15 characters of optional FOB information.
-
Press [Tab] to select the default established in the Application Parameters maintenance - Default tab.
In the Acknowledged By field...
-
Enter up to 15 characters for the vendor acknowledgment of the order.
In the Packing List Number field...
-
Enter packing list number information.
In the Std Msg Code field...
Display only. Shows the code entered on the purchase order.
AddonSoftware allows for two different types of messages for requisitions/purchase orders: a standard message that prints on all requisitions/purchase orders (i.e., Season's Greetings) and specific messages pertaining to line items (i.e., Requires Part #3342). This field is for the standard message.
In the Warehouse ID field...
-
Mark the box to accept all items on the purchase order as complete.
-
Unmark the box if the purchase order is not complete.
When marking this checkbox, the purchase order is closed during the Purchase Order Receipt Register update. This is generally done if all items are received, or if the items not received are canceled (no backorders created). If left unchecked, the purchase order is not closed during the update if open order quantities remain.
Display only. In order to create a dropship PO, a SO must already exist with one or more lines marked for dropship. Shows as entered on the purchase order.
In the Vendor Purch Addr field...
Display only. Shows as entered on the purchase order.
When finished making entries to the fields...
-
Click
 to save the record.
 -
Click
to clear the form and begin again.
Dropship Tab (back to top)
Purchase Order Receipt Entry - Dropship tab
About the Fields
To enable edits to the form select .
-
Enter a valid customer ID number.
-
Press [Tab] to select the first customer record.
-
Click the Click
to select from a list of customer codes.
In the Sales Order Number field...
-
Enter the work order associated with this item.
-
Click
to select from a list of customer codes.
In the Customer Ship-To field...
Display only. Displays the ship to address.
Display only. Displays the shipping address for the selected Customer ID.
Item Detail Lines
To enable edits to the form select .
In the Memo/Non-Stock Desc field...
A comment editor pop-up is available when using line codes - M - Message Line, N - Non-Stock, O - Other, and V- Vendor Part #. Up to 1024 characters, line feeds and tab characters may be used.
-
The first 40 characters or up to the first line feed (whichever is less), is stored in the Memo/Non-Stock Desc field.
-
Hover over the column to the right of the Memo/Non-Stock Desc column to see the full text or select the column (double-click or single click and Ctrl-F/magnifying glass), or via the [Comments] button (or Alt-C) to invoke the comments editor.
NOTE: Comments can only be edited when in the Edit mode.
-
Enter the description of the item or the Comment when using the specified line codes.
Enabling the [Serial Entry/Lotted Entry] button
If the inventory is as specified as "Serialized" in the IV Parameters task then the button is labeled [Serial Entry]. If the item on the PO Receipt Entry detail grid is both serialized and inventoried, then the [Serial Entry] button is enabled.
If the inventory is as specified as "Lotted" in the IV Parameters task then the button is labeled [Lot Entry]. If the item on the PO Receipt Entry detail grid is both lotted and inventoried, then the [Lot Entry] button is enabled.
When selecting the row in the PO Receipt Entry grid for an inventoried serialized item, the [Serial Entry] button is enabled. Selecting the button launches the following form for the manual entry of lot/serial numbers. The [Auto-assign] button in the right corner will not appear for lotted inventory.
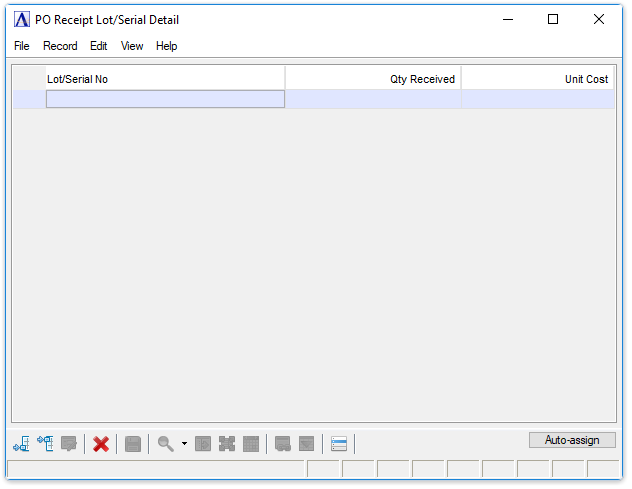
PO Receipt Lot/Serial Detail form
In the Lot/Serial No and Qty Received fields...
-
Enter the lot or serial number.
-
The [Auto-assign] button does not appear when using lotted inventory or when only one serialized part is needed. Select the [Auto-assign] button to automatically generate sequential serial numbers. This feature requires being in the Edit mode and when needing more than one serialized part in order for the Auto Generate Serial Numbers form to appear.
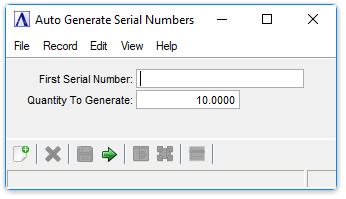
Auto Generate Serial Numbers
In the First Serial Number field...
- If all of the serial numbers are sequential, enter the lowest numbered serial number.
In the Quantity to Generate field...
- Having entered the starting serial number in the previous field, enter the number of items being received.
When done making selections...
- Press to automatically generate the number serial numbers entered starting with the First Serial Number entry.
Select the [Comments] button to launch the Requisitions/PO Comments text box for entering any needed receiving notes to accompany the receiving entry task. The button is enabled by selecting a item row in the PO Receipt Entry grid.
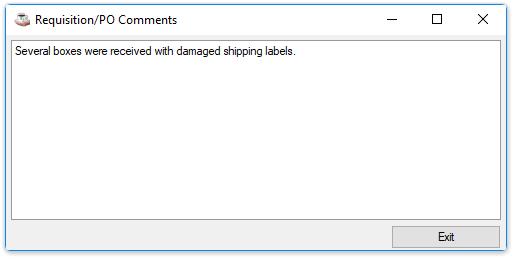
Purchase Order Receipt Entry Comments
Enter text notes and then select the [Exit] button. Comments will appear in the grid row in the Cmt Txt column.
When finished making entries to the fields...
-
Click
to save the record. -
Click
to clear the form. -
Click
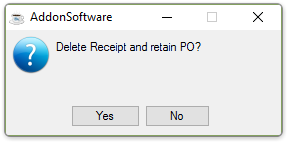
 to delete the receipt entry. The system issues the following prompt confirming the selection:
-
Click [Yes] to delete the receipt.
-
Click [No] to return to the PO Receipt Entry form.
______________________________________________________________________________________
Copyright BASIS International Ltd. AddonSoftware® and Barista® Application Framework are registered trademarks.