Accounts Payable - Recurring Invoice Entry
Function
Use this task to establish records of recurring bills or invoices that are processed each month. You enter recurring invoices much the same way standard non-recurring invoices are entered. Recurring invoice processing begins in each payment period with the printing of the Recurring Invoice Register. The update that follows places the recurring invoices in the standard Invoice Entry file so the remainder of the processing is done along with the regular payment period processing.
=> To access this task...
Select Recurring Invoice Entry from the Inquiry and Maintenance menu.
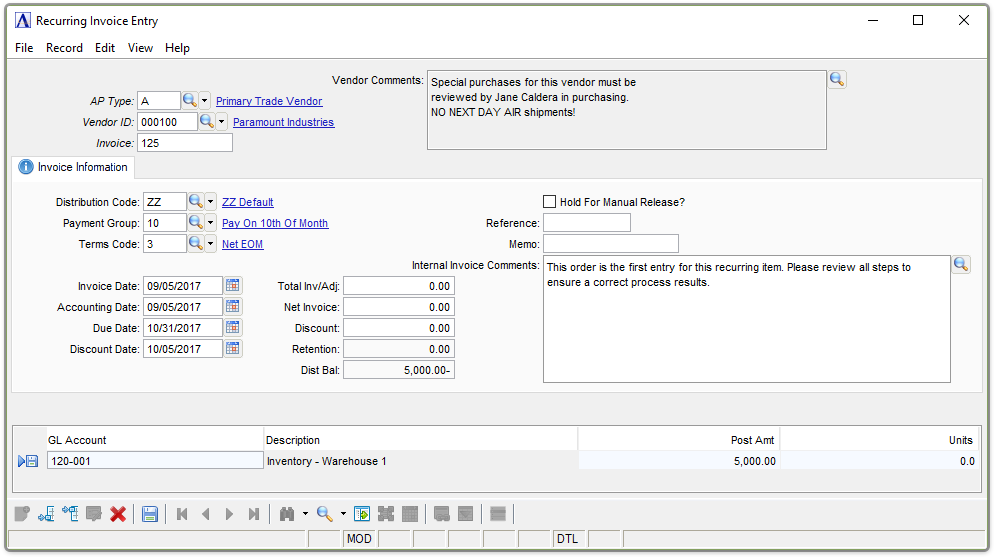
Recurring Invoice Entry
About the Fields
Recurring invoices are identified by the combination of vendor number, accounts payable type (optional) and invoice number entered when the invoice is defined. The same data fields and procedures for the Invoice Entry task are also used for the Recurring Invoice Entry task, with the exception of the following two fields. For information on the other fields, refer to Invoice Entry.
-
Click the record navigation buttons;
 to view the first record,
  to view the previous record,
  to view the next record and
  to view the last buyer code record.
In the AP Type field...
-
Enter a 2-character alphanumeric code to identify the AP type code.
-
Click
 to select an AP code from a list of existing AP types code records.
In the Vendor ID field...
-
Enter a vendor number.
-
Click
to select vendor number from a list of existing vendor number code records.
In the Invoice field...
-
Optionally enter an alphanumeric invoice number.
The number of days from the first of the year is appended to the invoice number during the Recurring Invoice Register update process. When a recurring invoice remains in the Accounts Payable module more than one year, the suffix becomes the number of days plus 365.
Recurring Invoice Number Example
A recurring invoice with the number of 665544 is updated on January 31. During the update, it is numbered 6655440031. The same recurring invoice updated on February 28 creates an invoice numbered 6655440059. On March 30, the same invoice is numbered 6655440089. On January 31 of the next year, the invoice is numbered 6655440396. This creates a unique identity (invoice number and day of year) each month for a recurring invoice.
In the Vendor Comments field...
These comments also are maintained in the Vendors task in the Inquiry and Maintenance area
In the Distribution Code field...
Display only. Code and description from vendor master file.
In the Payment Group field...
Display only. Code and description from vendor master file.
In the Terms Code field...
Display only. Code and description from vendor master file.
Hold For Manual Release? checkbox...
-
Mark the box to hold for manual release. Invoices put on hold during invoice entry cannot be selected for payment during the Payment Selection task.
In the Invoice Date field...
-
Enter the date of the invoice.
-
Click
 to select a date by using the calendar tool.
 -
The default date is the current date.
Only the day of the month entered (not the month or year) is significant when recurring invoices are updated. A new invoice with the current month and year is created and entered into the regular invoice file.
In the Accounting Date field...
-
Enter the date the invoice.
-
Click
to select a date by using the calendar tool. -
The default date is the current date.
In the Internal Ord/Inv Comments field...
These comments are internal only (don't appear on reports or customer-facing documents), and follow the order all the way through invoicing and into history. They can be changed/amended at any time (even AFTER the invoice goes to history).
-
Enter or edit by typing directly into the form field, or click
(or Ctrl-F) to launch the comment editor.
When finished entering recurring invoice information...
-
Click
 to save the record.
 -
Click
 Accounts Payable Maintenance menu.
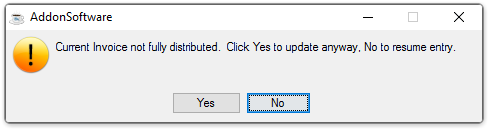
If the window is saved before fully distributing the current invoice, the module issues this prompt:
-
Click [Yes] to proceed with the update.
-
Click [No] to resume edits to the entry.
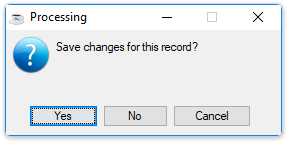
If the window is closed without saving the record, the module issues this confirmation prompt:
-
Click [Yes] to save the changes.
-
Click [No] to return to the Accounts Payable Maintenance Menu without saving the record.
-
Click [Cancel] or the "Close Window" button to return to the Accounts Payable Maintenance menu.
______________________________________________________________________________________
Copyright BASIS International Ltd. AddonSoftware® and Barista® Application Framework are registered trademarks.