Getting Started in GUIBuilder
This section takes you through the process of creating a new .gbf file, moving to ResBuilder to open a resource file, viewing properties for the form, button, and static text controls contained in the resource file, returning to GUIBuilder, setting the options for the program to be created, creating the event handler code, running the program, and checking for errors.
Purpose of Overview
GUIBuilder is the new Visual Programming Environment for Visual PRO/5 Rev 2.x. It provides all of the tools needed for developing Visual PRO/5 2.x event-driven GUI programs in a high-level graphical environment. This overview of GUIBuilder will concentrate on three main points:
1. The relationship between GUIBuilder and ResBuilder.
2. The process of writing event handlers.
3. The use of GUIBuilder built-in functions for managing the windows and controls.
GUIBuilder greatly simplifies the development of GUI programs by enabling you to concentrate on business rules, rather than on the details of how to write a GUI program. It automatically builds a framework that includes the complete event loop, with places where you can insert code, known as event handlers, to respond to selected events.
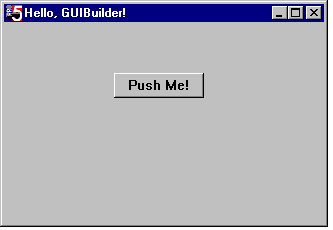
To introduce the features of GUIBuilder, we will create a simple GUI "Hello World" program. This program will display a window with a title of "Hello GUIBuilder!" It will have a push button called "Push Me" that, when pushed, will bring up the message "Hello from GUIBuilder!"
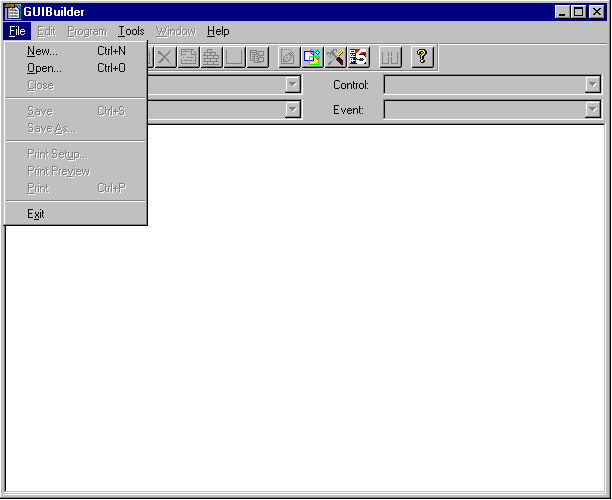
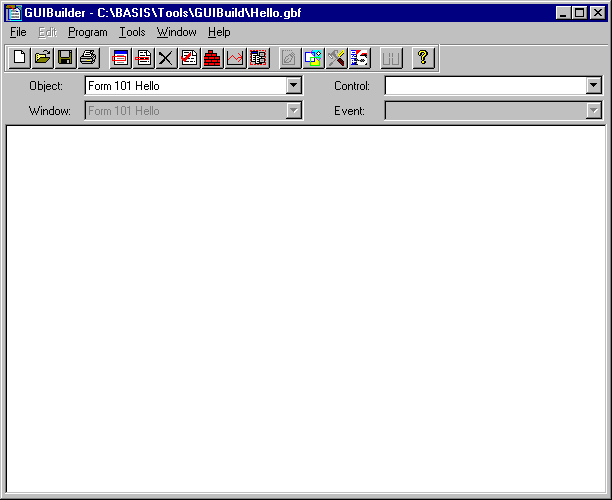
The GUIBuilder screen consists of a menu, a tool bar, four list buttons (drop-down boxes), and an edit window. One of the things we can do here is edit code. But there are a lot more features than that. Look at the tool buttons at the top and the list buttons just below them. The tool buttons enable us to do things like edit subroutines, check syntax, and build and run the program. The list buttons hold information about the forms, controls, and events that are available for use in the program.
Creating a New .gbf File
As with other Windows programs, we start with the File menu. On the File menu, select New.
We are asked for a name for the GUIBuilder file. Let's be original and call it "Hello." Once the file has been named, we are asked if we need to use ResBuilder to build a resource for our program.
Moving to ResBuilder
A resource is related to a Windows screen the way a data dictionary is related to a database. It is a file that stores the properties of the windows and controls for a given program. Controls like push buttons and radio buttons provide the means by which the user communicates with the GUI program.
ResBuilder enables you to create a window and define the properties of the controls on it, all without having to write any code.

Let's answer "Yes" to the question and bring up ResBuilder.
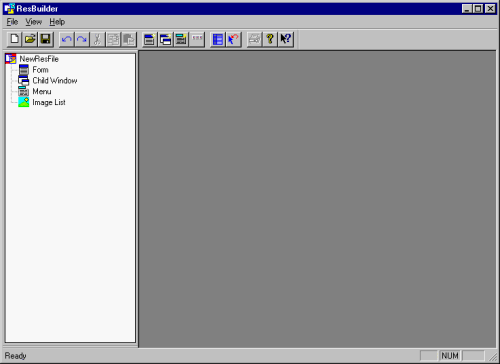
As you can see, ResBuilder has a flexible interface for designing windows and controls. On the left side is a tree view that shows all the components of the resource. On the right is the work area where forms are designed.
The tool buttons across the top of the ResBuilder screen can be used to create forms or windows and populate them with controls like push buttons, edit boxes, grids, tabs, etc.
Opening a Resource File in ResBuilder
Although a new resource file can be created in ResBuilder, in our example we will use Hello.brc, an existing resource file. If you would like more information on ResBuilder, please consult the product documentation.
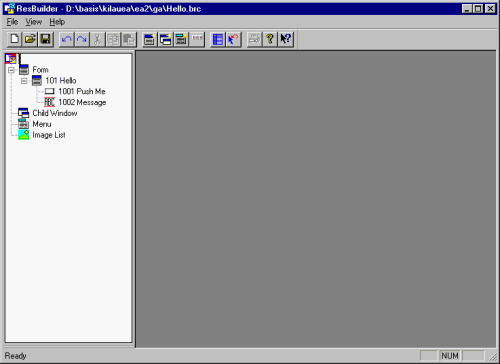
Even a simple program like "Hello World" requires a window with some controls. Let's go to the File menu and open Hello.brc.
Resource File Properties
As you can see on the left side of the screen, the Hello.brc resource contains a form named "Hello" with two controls, a push button named "Push Me," and a static text control called "Message." Accompanying each control and the form is a properties page, which contains various details about it, including its size, position, and ID. Once the form or control is selected, clicking Properties on the View menu displays the properties page.
Viewing Form Properties
The following illustrates the properties page for the form:
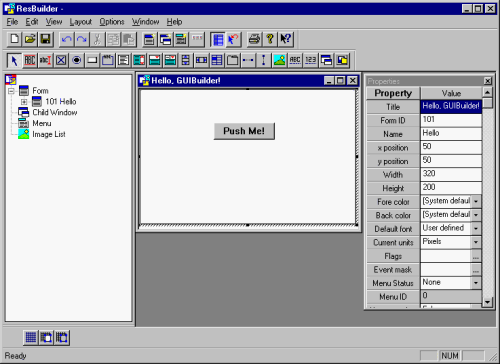
When we click on the Flags property, the Flags dialog displays a list of options that determine the appearance and behavior of the window. You can see that we have checked the flags "Close box," "Minimizable," and "Sizeable." These flags will generate the familiar three buttons on the right side of the title bar to enable the user to resize and close the window.

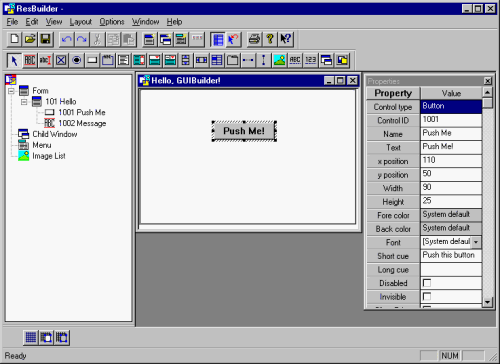
Viewing Button Properties
The following displays the properties page for the button control. Notice that the initial contents, the button caption, is "Push Me!"
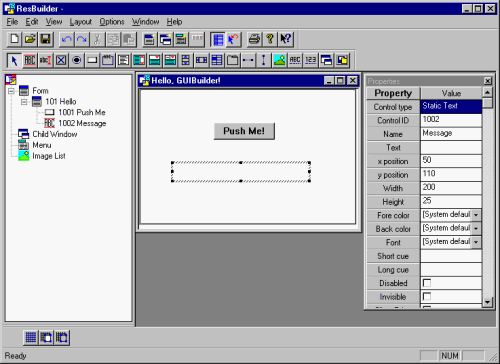
Viewing Static Text Properties
The following displays the properties page for the static text control. Even though we could not see the static text control until we clicked on it, it is present on the form. This is the area of the screen where we will display the message, "Hello from GUIBuilder!" You can see from the properties page that the name of the static text control is "Message" and that it is initially empty.
Returning to GUIBuilder
Let's close ResBuilder and go back to GUIBuilder by selecting Exit from the File menu. The Open Resource File dialog appears. Let's select "Hello.brc", the resource file we just reviewed in ResBuilder. After we have selected the resource file, the Program Options dialog appears.
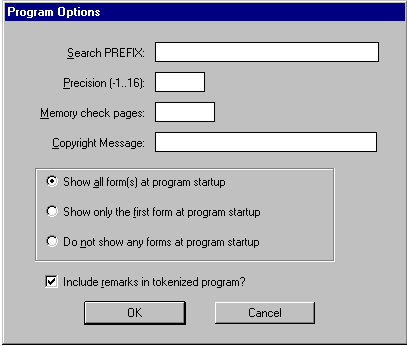
Program Options
The Program Options dialog enables you to enter global parameters for the generated program. You can specify a prefix, numeric precision, and memory requirements. You can determine whether one, all, or none of the forms in the resource are initially visible at start up. You can also include remarks in the generated program and specify a copyright string to be included in the program source file.
Object List
The Object list now contains the name of the screen object, Form 101, which shows that we are dealing with the resource we just created. There is only one window in the Hello.brc resource, hence the Window list button is disabled.
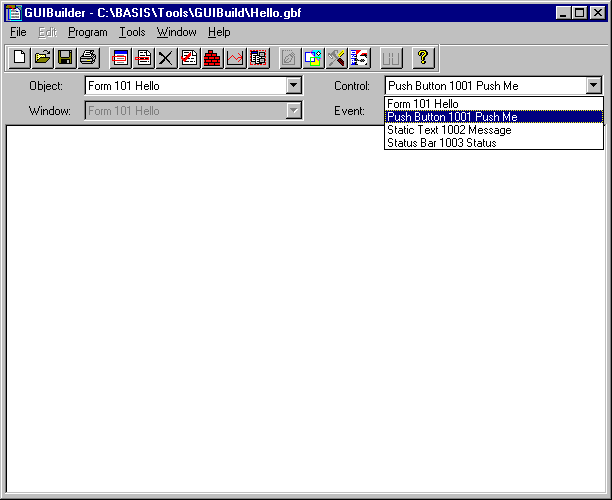
Control List
The Control list shows three controls: the form itself, the push button, and the static text control. Notice how GUIBuilder has used the names for these controls as defined in ResBuilder. Also shown are the ID and type for each control. Let's select the Push Me button.
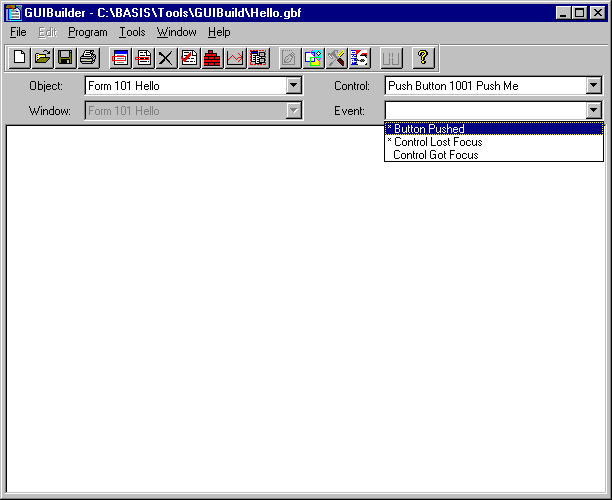
Event List
The Event list shows three events: "Button Pushed," "Control Lost Focus," and "Control Got Focus." In this program, we are only interested in the "Button Pushed" event, so we select it.
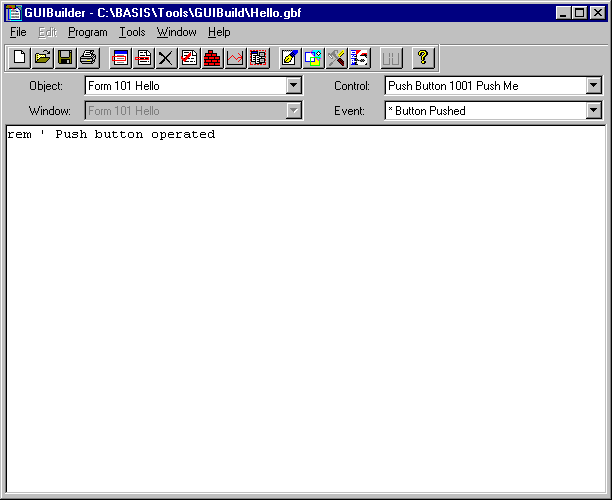
Event Handler Code
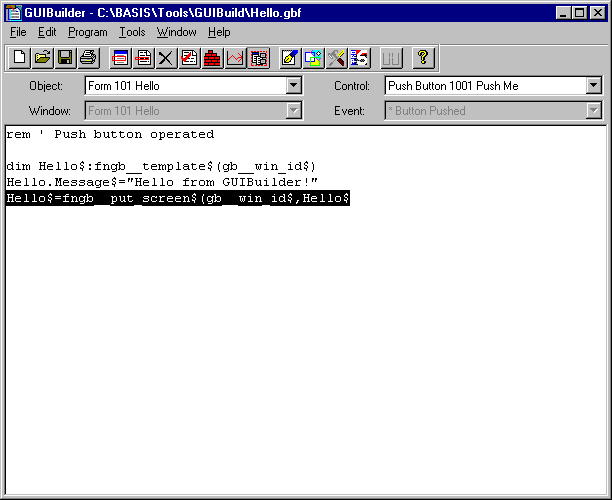
Now we can decide what should be done when the events associated with the selected control are generated. Notice that GUIBuilder has put a REM statement in the edit window. This is where we create the "event handler" for this event. The event handler is a block of Visual PRO/5 code that gets executed automatically whenever the event occurs. We have decided that when the user presses the Push Me button, we will display a message in the static text area called "Message."
GUIBuilder comes with several built-in functions to help you manage data in the controls. We will use the following data management functions to simplify the process of updating the screen:
|
Function |
Description |
|
Takes one argument, a window identifier. It returns a template with data fields based on the controls from the specified window. |
|
|
Takes two arguments, a window identifier and a string to act as a screen buffer. The screen buffer must have been previously dimensioned using the template returned by fngb__template$(). |
All GUIBuilder built-in functions are named with the prefix fngb__ (two underscores) followed by a function name. Variables are named similarly, with the prefix gb__ followed by a variable name.
The template in this example has two fields: Push_Me corresponds to the push button control, and Message corresponds to the static text control. Using Visual PRO/5 template notation, we can refer to these fields as Hello.Push_Me$ and Hello.Message$.
Let's use the built-in functions to update the screen. First, we dimension a string, Hello$, with the template returned from fngb__template$():
dim Hello$:fngb__template$(gb__win_id$)
Then we assign the message text to the template field, Message$:
Hello.Message$="Hello from GUIBuilder!"
Next we use the fngb__put_screen$ function to update the screen (but note we've made a typo at the end of this line):
Hello$=fngb__put_screen$(gb__win_id$,Hello$

Running the Program
Let's save our work and run the program by selecting Run Program from the Program menu.

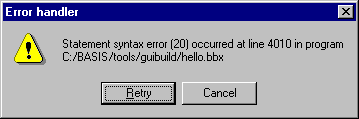
GUIBuilder then asks us to name the program. Let's call it hello.bbx. Now GUIBuilder builds the program using its framework and our code, and runs it. GUIBuilder displays a message box to inform us of an error.
Checking for Errors
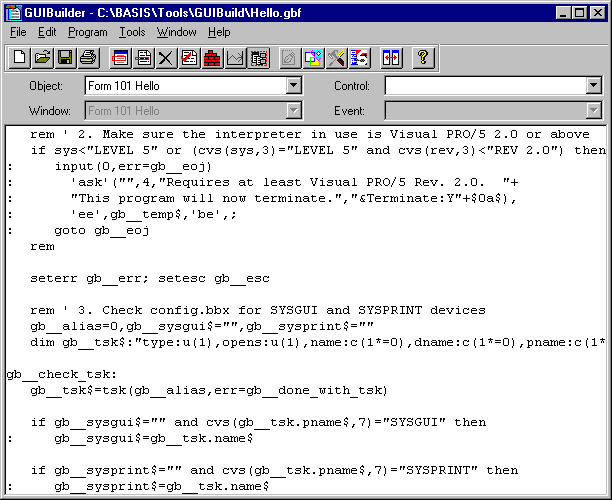
Let's click the OK button to bring us back to the edit window. GUIBuilder highlights the line that contains the error.
Looking at the end of the line, we see the error: the terminating parenthesis in the fngb__put_screen$() line was left off. Let's fix the error and save and run the program again.
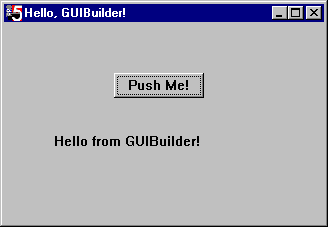
This time, GUIBuilder was able to successfully build and run the program. When we push the Push Me! button, the message appears:
This is a very simple example of a GUI program created using GUIBuilder. We were able to focus on the functional behavior of the program, without having to worry about the details of the GUI environment. The built-in functions further simplify your work, enabling you to work with controls using names rather than numbers.
GUIBuilder can also simplify the migration of programs from character to GUI. The Get External Code selection on the Program menu enables you to load an existing character program into an edit window. This code is automatically converted into ASCII text with all line number references converted to line labels. You can then copy and paste the relevant "business rule" code into your new program.
Developers with well structured code and screen libraries can put together procedures to automatically generate GUIBuilder files directly from their current code.
There are many more things that GUIBuilder can do. This simple example shows you how to get started. Please visit the BASIS website, https://www.basis.cloud, for more information and examples.