Payroll - Daily Entry
Function
The Daily Entry task allows a convenient means of recording earnings on a daily basis, and provides a register that may be printed weekly or biweekly to report earnings by date and department. Earnings information from the Daily Entry task is transferred to the Payroll Entry task once the Daily Entry Register is printed and updated.
=> To access this task...
Select Daily Entry from the Daily Entry menu.
If batching has been enabled you will be presented with the Process Batch Control Screen to either select an existing batch or create a new one. Batching allows several people to work within the payroll system at the same time on a different set of processes. The Batch number assigned carries through to the Daily Processing Menu Choices.
Process Batch Control
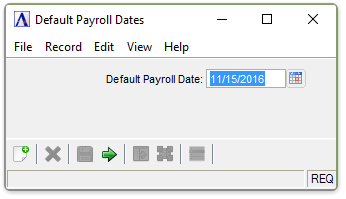
Default Payroll Dates
In the Default Payroll Date field...
-
Enter the payroll date to be used.
-
Use the calendar tool
 to select the date.
 -
Select [Tab] to accept the current default date.
After selecting the desired option...
-
Click
 to accept the selections and run the main form.
 -
Click
 to clear the form and begin again.
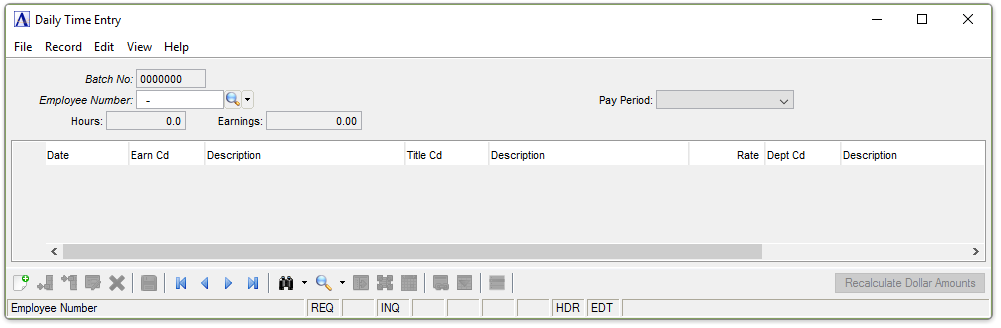
Daily Time Entry
About the Fields
This task allows entry of earning information only and should not be used for manual check or check reversal entries, since these types of entries also require entry of deductions, taxes, contributions and accruals. When recording manual checks or making a check reversal, use the Payroll Entry task.
To Enable Edits to the form select  .
.
In the Employee Number field...
-
Enter a valid employee number. The employee’s name is displayed.
-
Click
 to select from a list of valid codes.
 -
Click
 to select from a list of existing records.
 -
Click the record navigating buttons;
 to view the first record,
  to view the previous record,
  to view the next record, and
  to view the last record.
NOTE: The format of the employee number is defined in the Payroll Parameter Maintenance task.
When a valid employee number is entered, the first and last name of the employee are displayed and the Employee Maintenance Options sub-menu appears. Changes or additions to the employee’s records can be made by selecting options from this menu.
From the Pay Period dropdown....
The Normal Pay Periods for the employee will be the Default. This is used to determine the number of days in a normal period for Tax Calculations Select one of the Following to designate the pay period for this employee.
-
Select Daily (D)
-
Select Weekly (W)
-
Select Bi-Weekly (B)
-
Select Semi-Monthly (S)
-
Select Monthly (M)
-
Select Quarterly (Q)
-
Select Annually (A)
In the Date column...
Enter the date for this earning entry. The default payroll date entered above will be displayed. Dollar and unit earning information from this entry is reported by date on the Payroll Daily Input Register.
In the Earn Cd column...
Earnings Code, may be displayed as Pay Code on some modules.
-
Enter a valid pay code. A description of the pay code appears in the next column.
-
Click
to select from a list of valid codes.
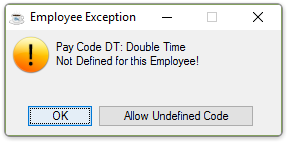
If the Pay Code selected is not defined for the Employee in the Employee Maintenance Record you will be presented with an error message, but you have a choice to override it by selecting [Allow Undefined Code].
-
Select [OK] to return to the form for editing.
-
Select [Allow Undefined Code] to override the employee settings.
If the Undefined Code is accepted, it will display with a different Background Color and Font. It will also be reported on all succeeding reports as an exception, until either the corresponding Earnings Code Record is defined for the Employee, or you continue to override the update prompts.

If for some reason the code used was valid when entered, and later the corresponding Earnings Code Record is deleted from the Employee Maintenance Record, It will display with a more urgent Background Color and Font. It will also be reported on all succeeding reports as an exception, until either the corresponding Earnings Code Record is defined for the Employee, or you continue to override the update prompts.

In the Title Cd column...
Note: The Title Code Column will only be Enabled if the Multiple Titles checkbox is checked in the Parameters, otherwise the Normal Title Code defined for the employee is used.
-
Enter a valid title code for this employee. A description of the title code appears in the next column
-
Click
to select from a list of valid codes.
The normal pay rate defined for this employee using this title code is displayed.
A similar exception warning and handling as with the Pay Code Exception applies.
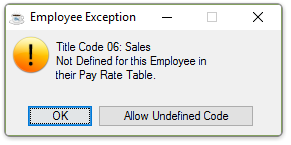
-
Select [OK] to return to the form for editing.
-
Select [Allow Undefined Code] to override the employee settings.
In the Rate column...
The pay rate is automatically displayed based on the title code entered above and may be overwritten with a different pay rate.
-
Enter a pay rate for the employee’s title.
In the Dept Cd column...
Department Code - The Employee's Home Department code is used as the default. A description of the department code appears in the next column. The department code determines the distribution of the earnings to the General Ledger.
-
Enter a department code for the employee.
-
Click
to select from a list of valid codes.
In the Units column...
-
Enter the number of hours worked (or other appropriate units).
NOTE: When this pay code is designated not to use units to calculate earnings (e.g., vacation pay), the cursor will advance to the Amount field for an entry without stopping at this field.
In the Amount column...
The amount in this field is automatically calculated when the defined pay code uses units.
-
Enter the earnings amount.
 button can be chosen on any line, to recheck the Rate, Unit, and Amount Calculation where applicable.
If there is a change to any of the amounts, you are presented with the option to continue.
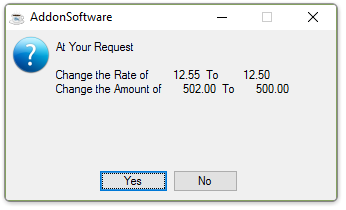
-
Click [Yes] to accept the rate change.
-
Click [No] to use the default rate value.
When finished entering Daily Time Entry information...
-
Click
 to save the record.
 -
Click
 to add a new record at the end of the form or
  to insert a new record at the current location.
 -
Click
 to delete the record selected. You will be prompted for Confirmation.
If the Window is closed without saving the record, or you try to navigate away from the current record, the module issues this confirmation prompt:
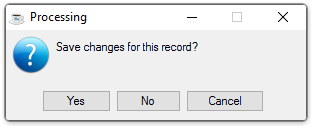
-
Click [Yes] to save the changes.
-
Click [No] to return to the Payroll Daily Entry Menu without saving the record.
-
Click [Cancel] to return to the Daily Entry you are Editing.
______________________________________________________________________________________
Copyright BASIS International Ltd. AddonSoftware® and Barista® Application Framework are registered trademarks.