Payroll - Check Printing
Function
This task prints all computer-generated checks onto standard or customized check forms. All earnings, voluntary deductions, and employee taxes are printed on the stub portion of the check. A restart option allows printing to be restarted beginning with a specified employee number after a paper jam or printer malfunction.
=> To access this task...
Select Check Printing from the Daily Processing menu.
If batching has been enabled you will be presented with the Process Batch Control Screen to select an existing batch. Batching allows several people to work within the payroll system at the same time on a different set of processes. The batch number assigned carries through the Daily Processing Menu Choices.
Process Batch Control
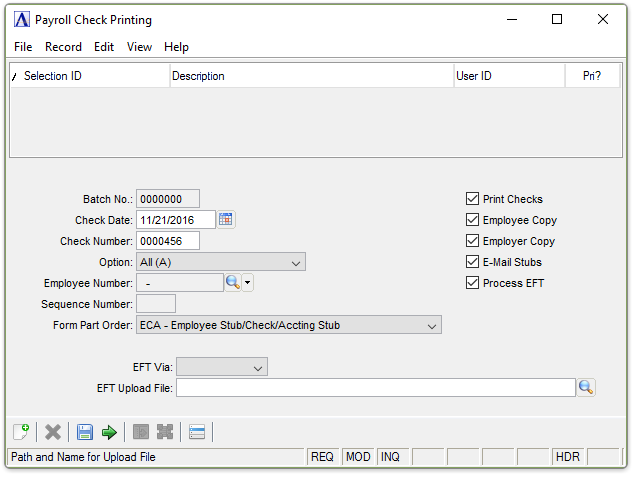
Payroll Check Printing
NOTE: Payroll Pre-Check Report must be run prior to printing checks as a final verification of exceptions.
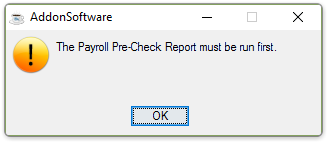
- Click [OK] and complete the Pre-Check report task.
About the Fields
In the Check Date field...
This field is not available if printing copies.
-
Enter the date to be printed on the checks.
-
Click
 to select the date from a Pop Up Calendar.
In the Check Number field...
-
Enter the beginning check number -or- the Restarting check number.
From the Option dropdown list...
-
Select All (A) for all checks are processed, including voids, reversals, and manual checks; prints all computer-generated checks that were entered with the Payroll Entry task.
-
Select Restart (R) to restart check printing with a specific employee number after a paper jam or printer malfunction.
-
Select Single (S) to print a single check.
-
Select Manual/Void (M) so that only Manual/Void checks will be processed.
In the Employee Number field...
This field is only accessible when you enter ‘Restart’ or ‘Single’ in the previous field.
-
Enter the employee number for restarting a print jam or for printing a single check.
-
Click
 to select from a list of valid checks.
In the Sequence Number field...
Display Only. Indicates which check is being used for the Restart or Single Action, in situations where multiple sequence checks were specified during Payroll Entry.
From the Form Part Order dropdown list....
Select the option that matches the layout of the Check desired:
-
ECA - Employee Stub on Top, Check in the Middle, Accounting Copy on the Bottom.
-
CEA - Check on the Top, Employee Stub in the Middle, Accounting Copy on the Bottom.
-
ACE - Accounting Stub on the Top, Check in the Middle, Employee Stub on the Bottom.
-
AEC - Accounting Stub on the Top, Employee Stub in the Middle, Check on the Bottom.
Checkboxes....
-
Print Checks - In addition to printing the checks, this will reassign Check Numbers beginning with the Check Number and Check Date as specified above.
-
Employee Copy - This will print a check duplicate for the employee containing only the Employee Stub and a Duplicate Check portion of the form.
-
Employer Copy - This will print a duplicate check in the same pattern as specified in the Form Part order, but with the Check Portion marked as Duplicate.
-
Email Stubs -- This will email a check duplicate for the employee containing only the Employee Stub and a Duplicate Check Portion of the form, to the email address listed in the Employee's Masterfile, if enabled.
-
Process EFT -- This will generate the data for the Electronic Funds Transfer for those employees desiring direct deposit.
From the EFT Via dropdown list...
Enabled if Process EFT checkbox is marked. Select the option that matches the layout of the EFT file you wish to generate.
-
Paypal - To Generate a PayPal "Mass Payment" "TXT" upload file.
-
Nacha File - To Generate a Nacha Web Direct Pass Through File for Upload to your ACH participating member bank.
In the EFT Upload File Field...
Enabled if Process EFT checkbox is marked. The name of the File that is to be created for Upload.
Note: The Nacha File Naming convention may be dictated by your Banking Partner.
When done making selections...
- Click
 to generate the Requested Check Forms.
If unresolved issues remain, or Negative Checks are detected, this is presented as the last chance to correct them. Negative checks will be printed with an amount of zero.
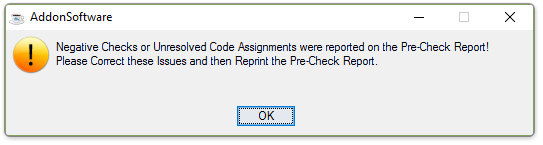
A Password-protected override can force the process to continue.
Note: Although they are not printed, all manual or voided checks entered through the Payroll Entry task are processed during check printing. This allows the necessary earnings, deduction, tax, contribution, and accrual information to be updated to the appropriate files. The process must be completed even if no computer generated checks are in the batch.
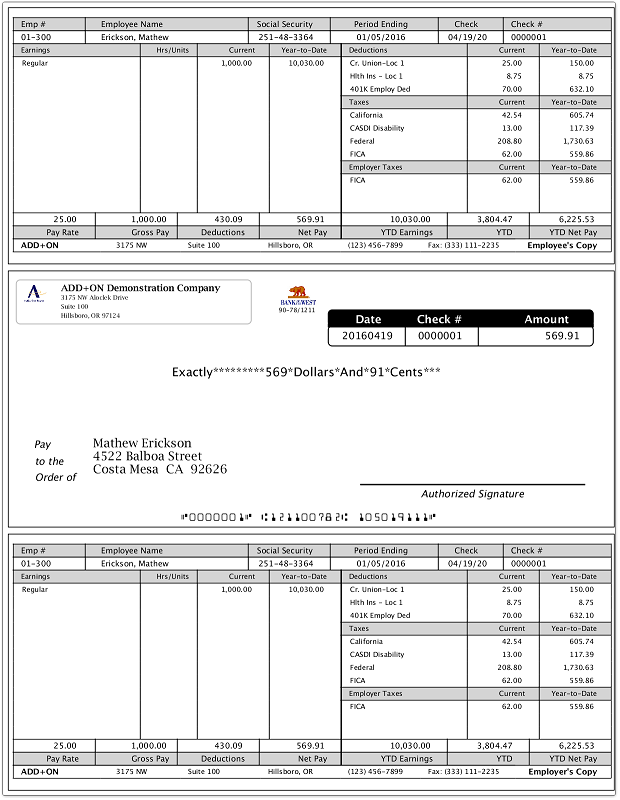
Sample Payroll Check
See Output Options
When the process is complete, you are returned to the Payroll Daily Processing Menu.
Selecting the additional Options Button  displays the
  button. Clicking the button produces the following prompt:
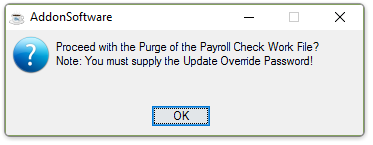
This option will clear check entries in progress for the given Batch you are working in. It will also clear pending ID numbers in EFT transactions.
Proceed with Caution - This should only be used for testing purposes, or if the dates accidentally entered are non-compliant with the Bank NACHA processing authority.
Upon successful Purge you will be returned to the Payroll Check Printing Form.
Note: This option is also present on the Payroll Utilities menu.
______________________________________________________________________________________
Copyright BASIS International Ltd. AddonSoftware® and Barista® Application Framework are registered trademarks.