Accounts Payable - Manual Check Entry
Function
Use this task to enter manual checks, void checks, and check reversals.
=> To access this task...
Select Manual Check Entry from the Accounts Payable main menu.

Manual Check Entry
About the Fields
The Manual Check Entry screen is divided into two sections. The upper section describes the check and vendor. The lower section describes invoice information. The fields used depends on the type of transaction being recorded (manual check entry, check void, or check reversal).
In the AP Type field...
This field is accessible only if the checkbox is selected in the Multiple AP Types parameter.
-
Enter a type code of the vendor for whom you are entering manual checks.
-
Click
 to select from a list of existing type codes.
In the Check No. field...
-
Enter a check number of up to 7 digits.
-
Click the Record Query button
 to select existing manual check entries records. See Query Functions.
 -
Click the record navigating buttons;
 to view the first record,
  to view the previous record,
  to view the next record and
  to view the last vendor record.
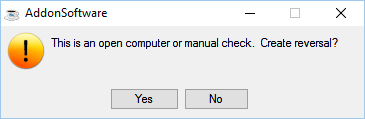
If the check number entered is an open manual check or computer check, the following message box appears:
-
Click [Yes] to make the transaction type a Reversal. If the check is not associated with the vendor selected above, the vendor changes to the vendor associated with the check.
-
Click [No] to clear the entry to enter a different check number.
From the Checking Account dropdown...
All Checking Accounts setup in Bank Account Codes maintenance are listed. Select the one to use for the check currently being entered. The Checking Accounts dropdown list is disabled when there is only one Checking Account.
From the Trans Type dropdown...
-
Select Manual (M) to record the accounting information from a check that was manually prepared (that is, not printed by the computer)
-
Select Reversal (R) to reverse a check, which reverses the payment record and general ledger postings (if General Ledger installed) of a check printed by or recorded in the Accounts Payable module (for example, a check was issued to a vendor and never cashed). Invoice will remain open for the vendor.
-
Select Void (V) to void a check. Void checks have not been updated in the Accounts Payable module (for example, a blank check was destroyed or lost).
NOTE: If the Monthly Check file was cleared by Period End Update or by running the Purge Zero Invoices task, a check cannot be reversed with this process. Adjust the invoice in the Invoice Entry task, and when the General Ledger module is installed, make correcting journal entries to the general ledger.
In the Vendor field...
-
Enter a valid vendor number.
-
Click
to select from a list of existing vendor numbers.
NOTE: Only the AP Type, Check Number, Transaction Type, and Check Date fields are used when voiding a check.
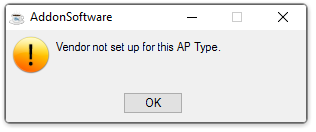
If a vendor number is entered for which the previously entered AP type is not valid, the following message appears:
-
Click [OK] or "Close Window" button to return to the Vendor field.
In the Check Date field...
-
Enter the date for the transaction in mmddyyyy format.
-
Click
 to select a date by using the calendar tool.
 -
Press [Return] to accept default date which is current date.
When the General Ledger module is installed this date determines the general ledger posting date for the manual check and related invoices not previously entered through the Invoice Entry task. For voided checks, enter the date the check is to be recorded as void in the Monthly Check Register.
NOTE: When the Post to Closed Periods parameter is unchecked, a check cannot be entered with a date that falls within a closed general ledger period.
In the Invoice field...
-
Enter alphanumeric characters for the invoice number.
-
Select the [Open Invoice] button to view and select from a list of open invoices for this vendor.
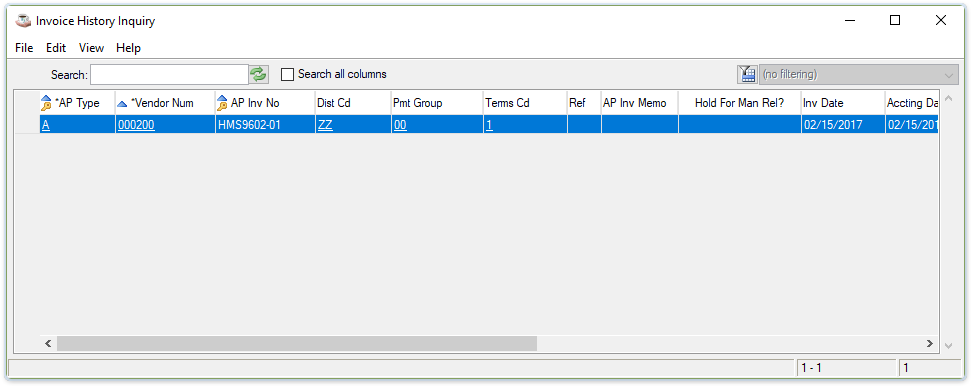
Open Invoice Inquiry grid
If the invoice does not have a number, enter identifying characters such as the invoice date.
If the invoice number was not previously entered, the module issues the prompt:
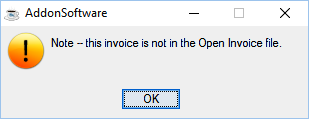
Not in the Open Invoice File
-
Click [OK] or "Close Window" button
 to proceed with entering the required invoice information.
Since invoice numbers are not always unique, the Accounts Payable module creates a unique number by combining the invoice number with the vendor number. When entering an invoice number, the module verifies whether the invoice number/vendor number combination already exists.
When the invoice is in the Open Invoice file, the invoice information is displayed. An invoice amount of zero (.00) indicates that the invoice was paid.
CAUTION: Check the invoice number if you think the invoice was entered through the Invoice Entry task, though the date and amounts are not displayed on the screen when you enter the invoice number. When you accidentally enter another invoice number, the invoice is posted twice. When using multiple accounts payable types, remember that the combination of accounts payable type, vendor, and invoice number are used to determine if the invoice is already in the Open Invoice file.
When an existing invoice is not found, you are advanced to the Date field.
In the Date field...
-
Enter the date for the invoice.
-
Click
to select a date by using the calendar tool.
In the DC field...
-
Enter a valid distribution code.
-
Click
to select from the list of available distribution codes.
When the Multiple Distributions parameter is checked, a valid distribution code must be entered. When the Multiple Distributions parameter is unchecked, then the Single Distribution Code specified in AP Parameters is assigned to the transaction.
In the Description field...
Display only. When a DC code is entered, the description for the code displays.
In the Inv Amt field...
-
Enter the invoice amount to be paid.
-
Press [Return] to accept the amount displayed.
Payment cannot be made for more than the invoice amount that is displayed. You must use the Invoice Entry task to adjust the invoice to a larger amount before an increased payment amount is allowed. To specify a partial payment, enter a lesser amount here.
NOTE: Invoices can be entered either through the Invoice Entry task (in which case they may be referred to as Open) or through Manual Check Entry. Manual Invoices allow the user to quickly enter and pay an invoice, bypassing the full detailed invoice entry. However, partial payments cannot be made to a Manual Invoice. Any unpaid amount of a manual invoice will need to be entered separately through the Invoice Entry task.
Invoice Amount Example for Invoices Entered Through Invoice Entry
An invoice for $100 was entered into Invoice Entry ( Inv # 1234567890). To make a partial payment of $60, less a $5 discount, enter 1234567890 in the Invoice Number field (make sure the AP type and vendor number correspond to those entered in the Invoice Entry). Enter the $60 in the Invoice Amount field and $5 in the discount field. The actual payment is a $55 manual check. The unpaid balance of $40 appears on the Aging Report after the check is updated.
Invoice Amount Example for Invoices Entered Through Manual Check Entry
To enter a partial payment of $60 on an invoice for $100 with a $5 discount through Manual Check Entry, enter the invoice in the Invoice Number field, $60 in the Invoice Amount field, $5 in the Discount field. Total payment is $55. If the outstanding $45 needs to be recorded in the system, enter an invoice for $45 through Invoice Entry.
In the Disc Amt field...
- Enter the amount of the discount taken.
In the Retention Amt field...
This field is displayed only when the Retention parameter is checked.
Display only. Shows the amount of retention as entered in the Invoice Entry task.
The retention amount, when present, is subtracted from the payment amount. The retention amount cannot be included in the first payment on an invoice. On subsequent payments, the retention amount is included in the invoice amount and payment can be made.
When a manual check is used to pay an invoice not previously entered into the Accounts Payable module, the distributions must be entered. The total amount that must be distributed is shown in the Distribute field and the sum of the distribution amounts must match this total before the entry is complete.
In the Net Paid field...
Display only. Shows the amount of payment for the invoice minus the discount.
The [Load Image] and [View Images] buttons...
-
If using Payment Authorization, the Load Image lets you specify one or more images you've scanned to associate with an invoice, and the View Images lets you see what's been linked to the invoice
After completing the distribution details,
-
Click
 to save the distribution details.
 -
Click
 to delete the current line of Distribution record.
 -
Click
to return to the Manual Check Entry screen after changing, saving, or deleting the distribution records.
The module compares the value of the Distribute field to the total of the distribution lines. When the invoice amount is fully distributed, the entered distribution information is accepted. The task returns to the Invoice No field where information is entered for the next invoice to be paid with the check. When the two amounts do not balance, the module issues the prompt:

-
Click [OK] to adjust the amounts on the distribution lines to balance to the invoice amount.
After finishing the manual check entries:
-
Click
to save the manual check entry. -
Click
 to clear the form and begin again.
 -
Click
to delete the current manual check entry.
______________________________________________________________________________________
Copyright BASIS International Ltd. AddonSoftware® and Barista® Application Framework are registered trademarks.