 EM: App Deployment Tutorial
This tutorial provides a walk-through of the process of creating and deploying a BBj program from a BBjServices Server to a Client Computer as both a Web App and a Desktop App. For the primary documentation on this topic, see App Deployment.
Configuring JREs
Before you can deploy a Desktop App, you must provide a Java Runtime Environment (JRE) for each client operating system.
Note:
You must use a JRE (Java Runtime Environment), you cannot use a JDK (Java Development Kit).
If you have already downloaded the necessary JREs, you may skip to Step 5 to add them to the Desktop App JREs list; if you have already added the necessary JREs to the Enterprise Manager’s Desktop App JREs list (see Figure 4 below), you may skip to Step 8. Otherwise, proceed with Step 1:
-
You must use a JRE that is a ZIP, TAR, or GZIP file. For this tutorial, we are using Temurin JDK 11 from Eclipse Adoptium (see Figure 1 below). If you are using a JRE from another source, make sure you acquire an archive file of an appropriate format.
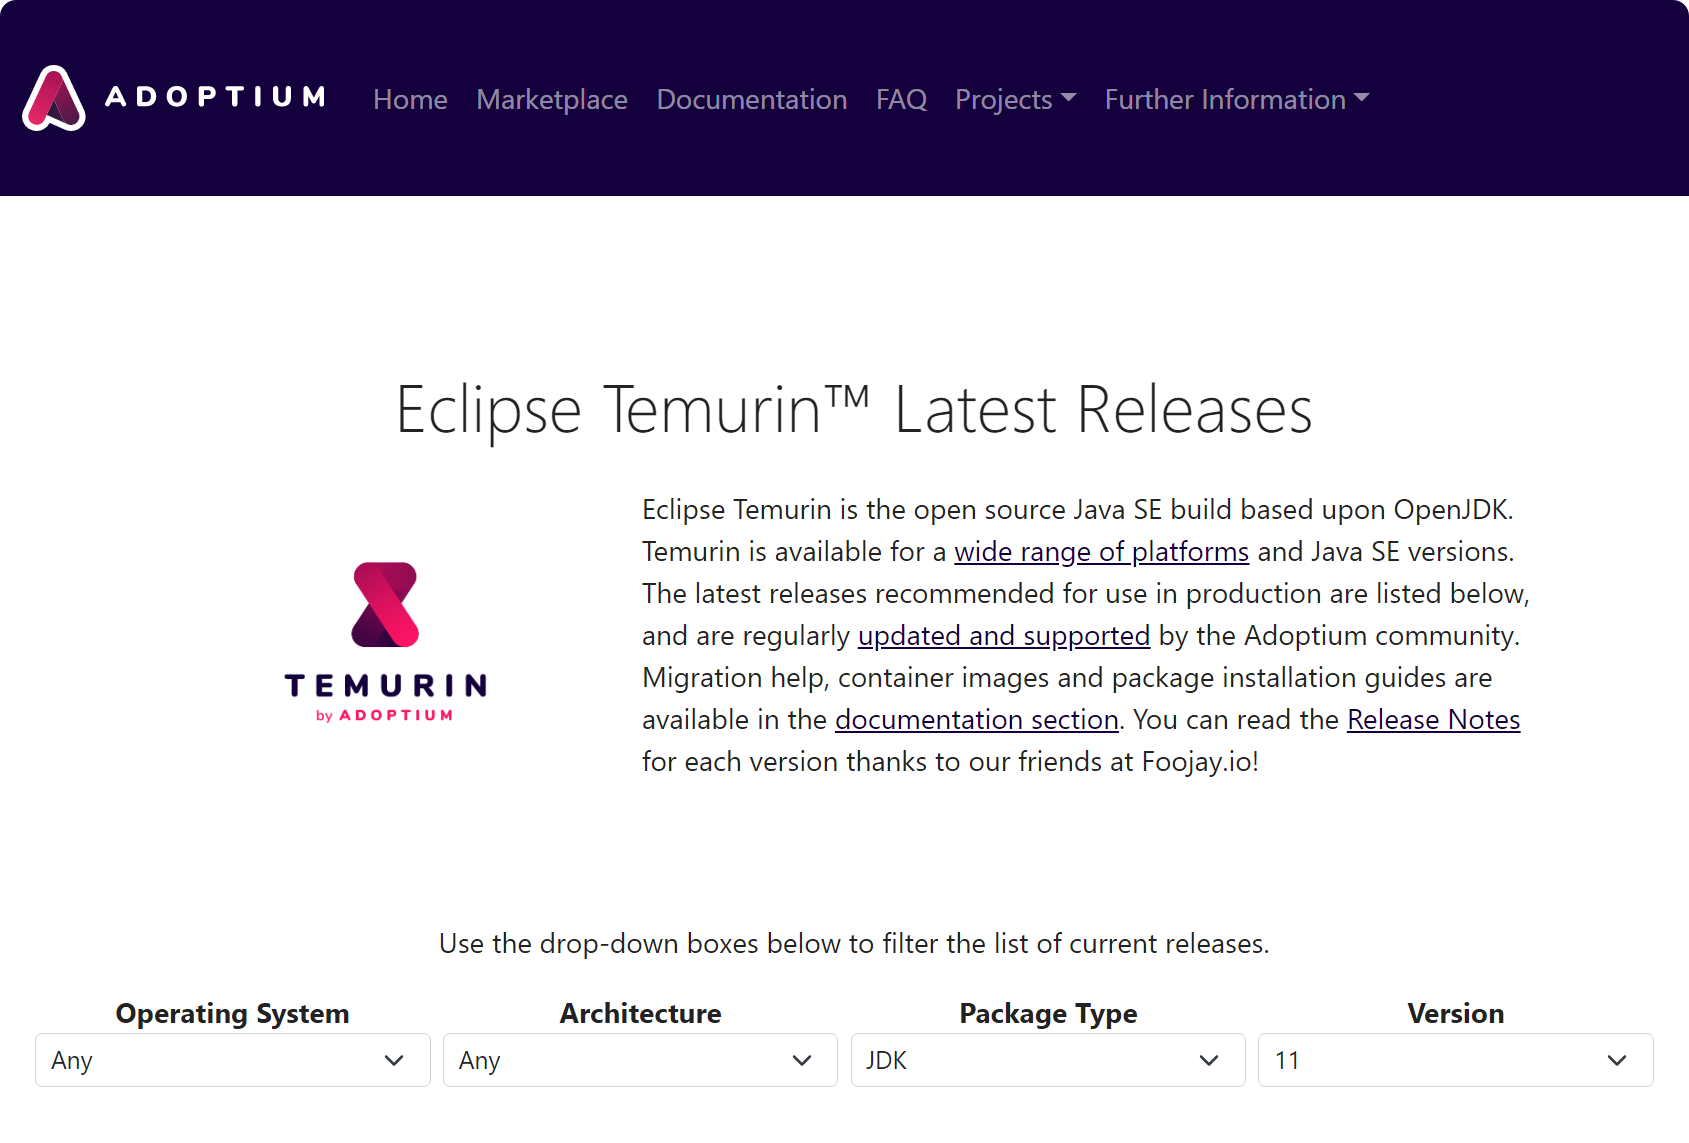
Figure 1. adoptium.net/temurin/releases -
Select an Operating System, Architecture, Package Type (JRE), and Version (11 for this example), as shown in Figure 2.

Figure 2. Selecting version and OS -
Scroll down and download the ZIP, GZIP, or TAR.GZ file for the JRE you have chosen. Figure 3 shows the selection of a ZIP file for a Windows x86 JRE.

Figure 3. Downloading the ZIP file -
Repeat steps 2 and 3 for each client operating system you wish to deploy to.
- Open the Enterprise Manager, expand
the Web and App Deployment nodes, and double-click Desktop
App JREs (Figure 4).
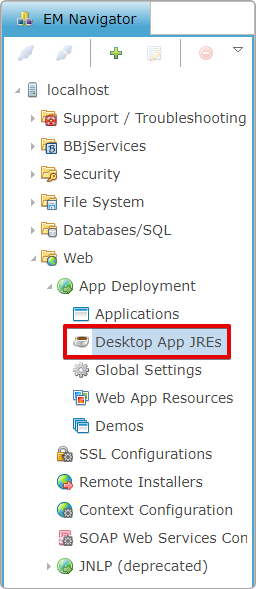
Figure 4. Desktop App JREs in the EM Navigator -
To add a JRE, click the green plus button (see Figure 5) and select a client Operating System. Repeat this step for each client Operating System.
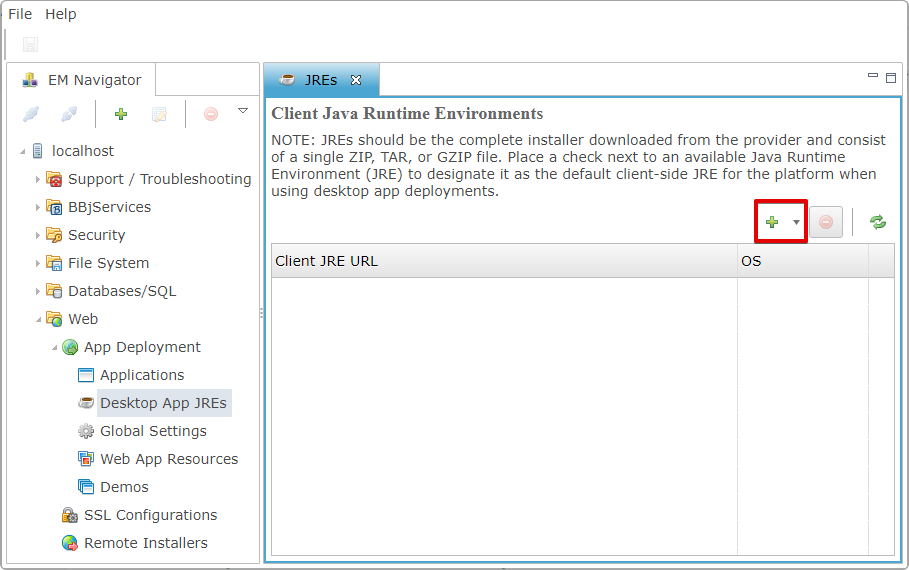
Figure 5. Adding a JRE -
You can only select one default JRE for each Operating System, so ensure that the correct JRE is selected for each OS. Figure 6 shows two Windows JREs (OpenJDK 11 and OpenJDK 8) and one Linux JRE (OpenJDK 11). Note that only one of the Windows JREs can be selected.
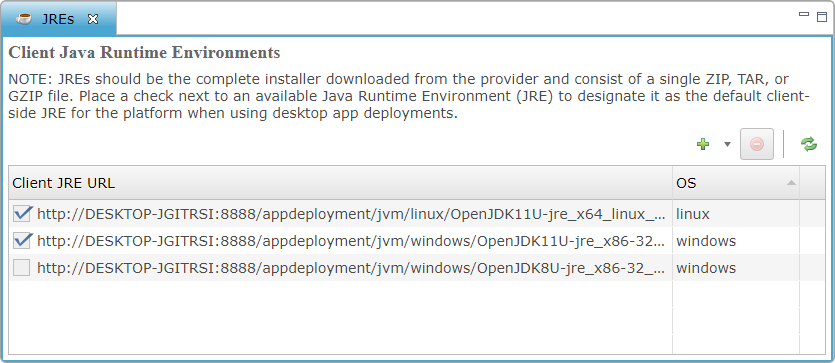
Figure 6. Multiple JREs -
In the Enterprise Manager, expand the Web and App Deployment nodes and double-click Applications as shown in Figure 7.

Figure 7. Enterprise Manager Navigation to Applications -
Click the green plus button in the top-right corner of the Applications tab (highlighted in Figure 8) to create a new application.
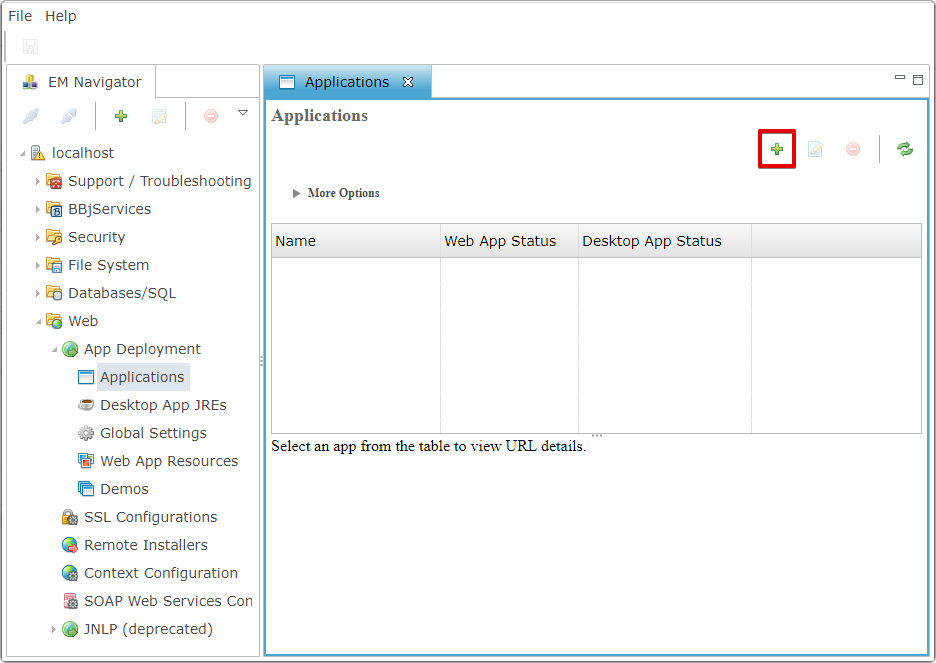
Figure 8. Create a New Deployment App -
A tab opens for the new, unnamed application.
-
Enter a unique name for the app in the box labeled Application Name. For this example, the name is “Configurator” (see Figure 9).
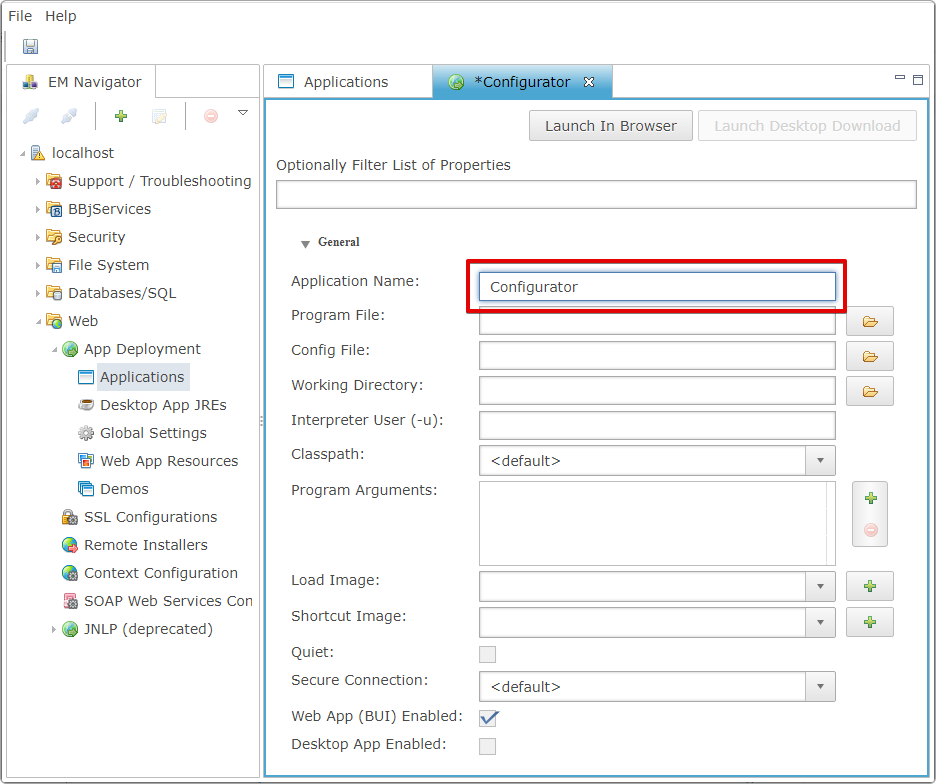
Figure 9. Configuring the New Application -
Click the File icon to the right of the Program File field to open a file explorer and choose a BBj program to run for your application. For this example, select the configurator program found at <bbjhome>\configurator\configur.bbj as shown in Figure 10 and click [Open].
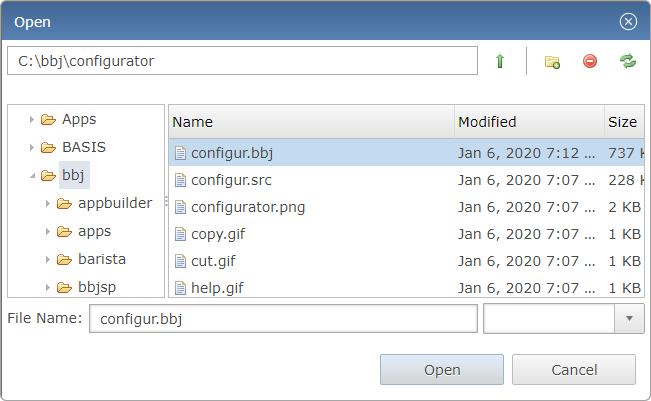
Figure 10. Select the BBj Program -
Proceed to choose a config file and a working directory (typically the directory that your program file is located in). For this example, use the config file located at <bbjhome>\cfg\config.min, and the working directory is <bbjhome>\configurator. Note that if the Config File field is left blank, the program will use the default config file <bbjhome>\cfg\config.bbx.
At this point, your window will look something like Figure 11 below.
Figure 11. Specifying Configuration Properties -
Add any arguments that your BBj program needs when it runs. To add an argument, click the green plus sign to the right of the Program Arguments box (see Figure 12).

Figure 12. Click to Add a Program Argument Each click creates a new argument with the text “argument”. Click on the “argument” text in the list to edit it. For this example, change it to the location of a config.bbx file, located at <bbjhome>\cfg\config.bbx.
-
Before moving on, ensure that Web App (BUI) Enabled is checked to deploy the application as a Web App, and that Desktop App Enabled is checked to deploy the application as a Desktop App. Leave the other properties as they are for this tutorial.
-
If you wish to change any settings for Web App Deployment, scroll down until you see the Web App Only property group. To modify any Web App settings, expand the Web App Only section. For this tutorial, there are no Web App Only settings that you need to change.
-
Scroll down until you see the Desktop App Only property group. Click Desktop App Only to expand the section and view Desktop App-specific settings (as shown in Figure 13 below).
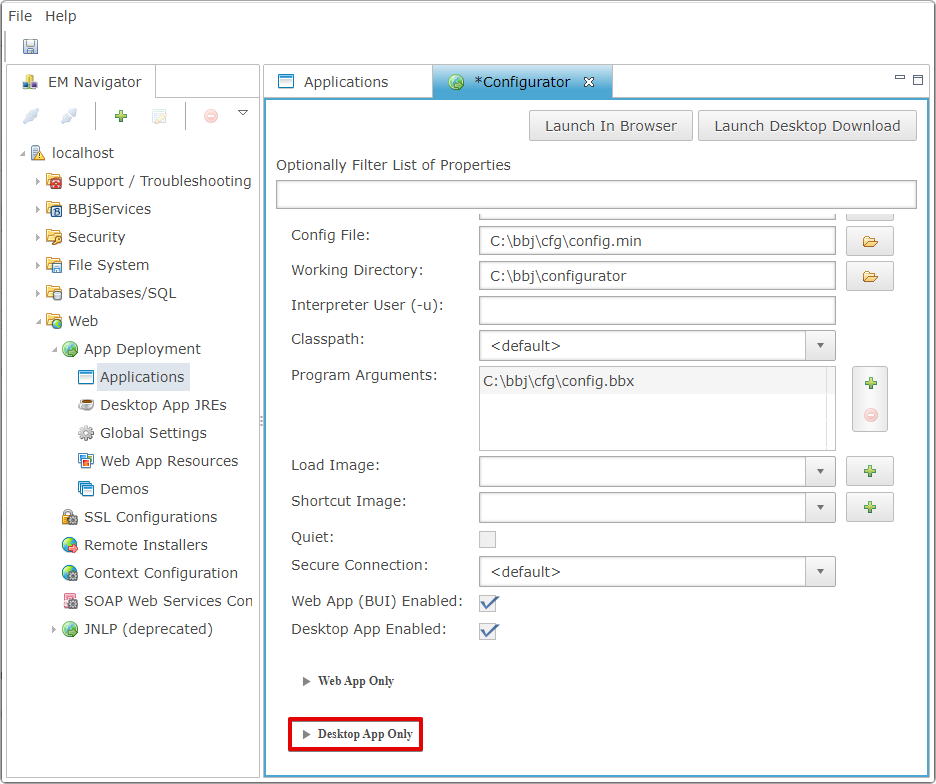
Figure 13. Desktop App Only Settings -
Change the terminal to T2 (as shown in Figure 8 below).
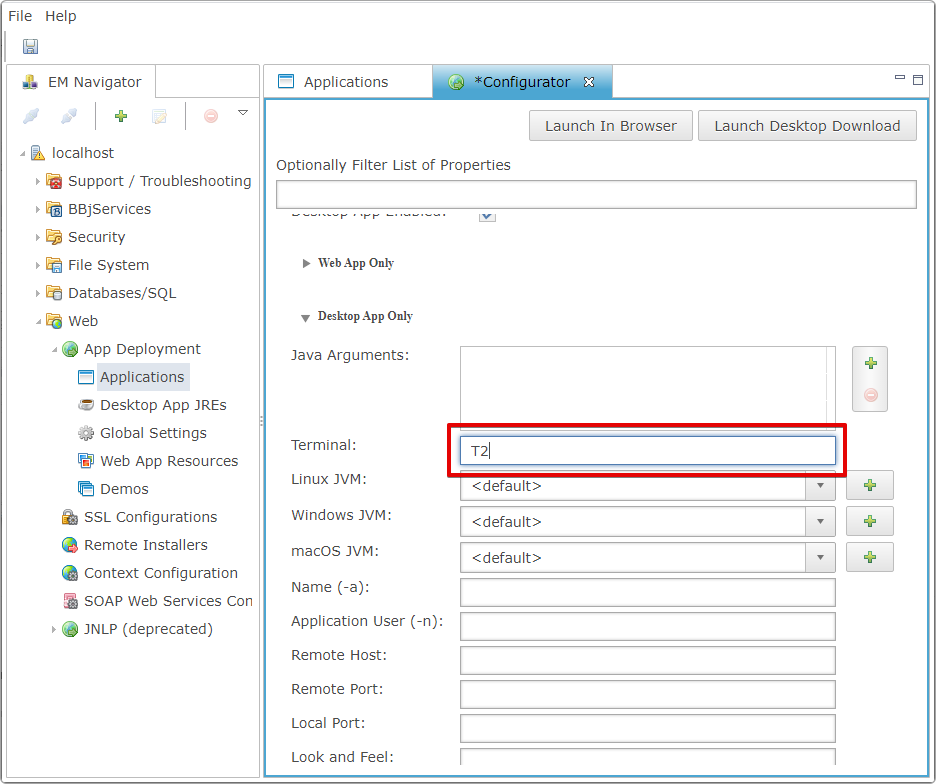
Figure 14. Setting the Terminal Leave the remaining settings at their default values for this tutorial.
-
Click the Save icon in the top left (as shown in Figure 15), or press Ctrl+S.
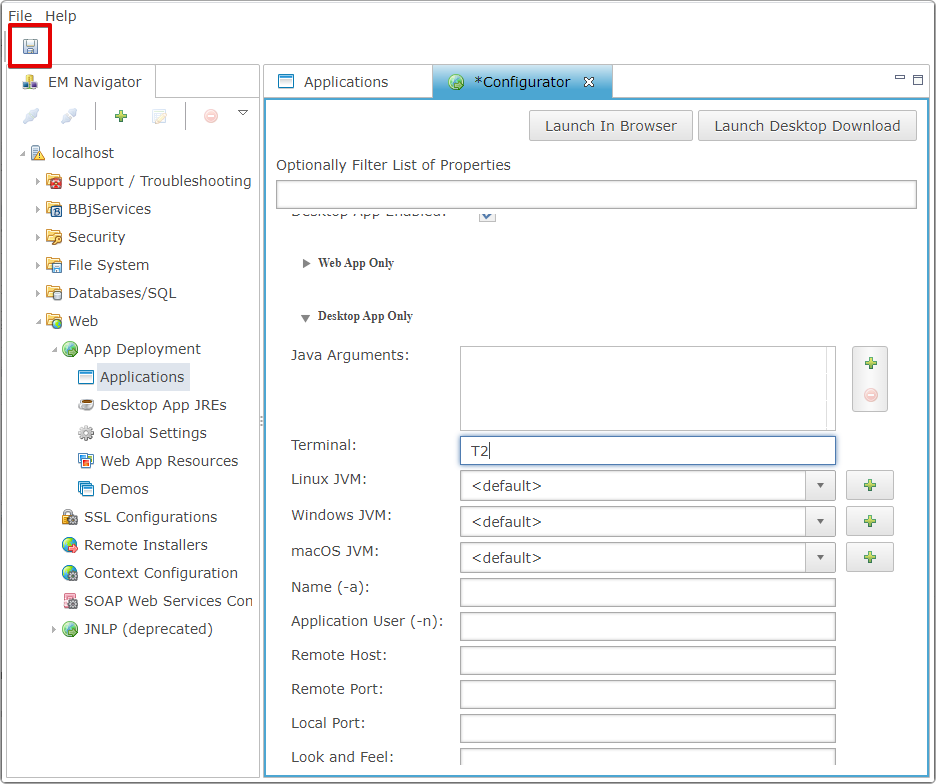
Figure 15. Save the Configurator Deployment App -
To easily view the Web App, click the Launch in Browser button at the top of the page (see Figure 16).
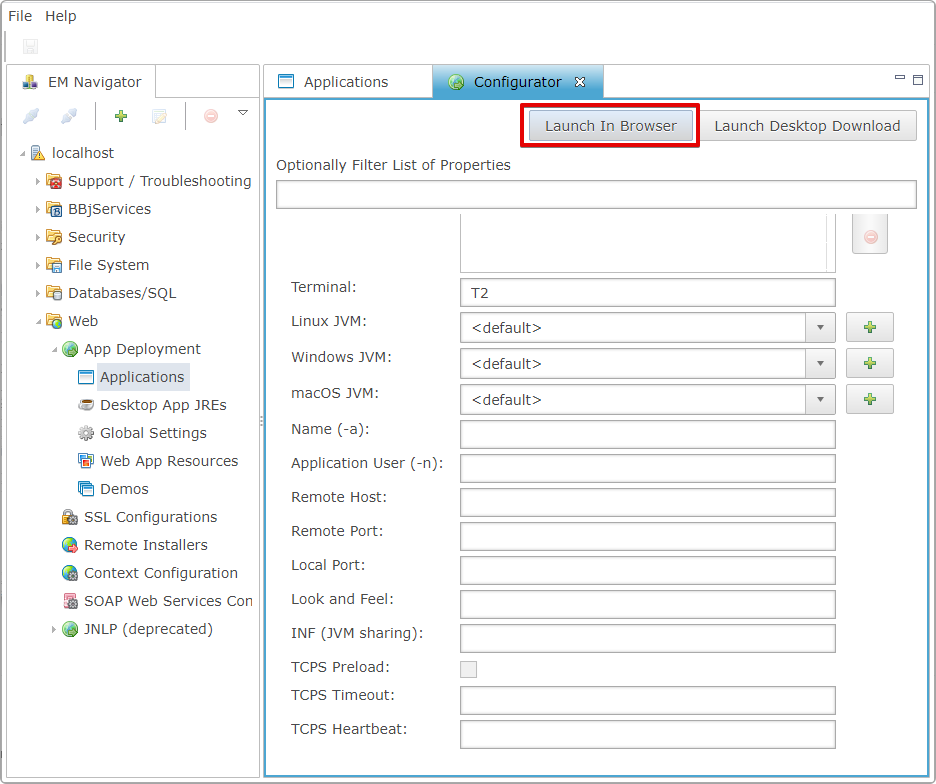
Figure 16. Launching the Configurator as a Web App -
The Configurator program launches in a new browser window as a fully-functional BUI app! Figure 17 shows the browser web application.
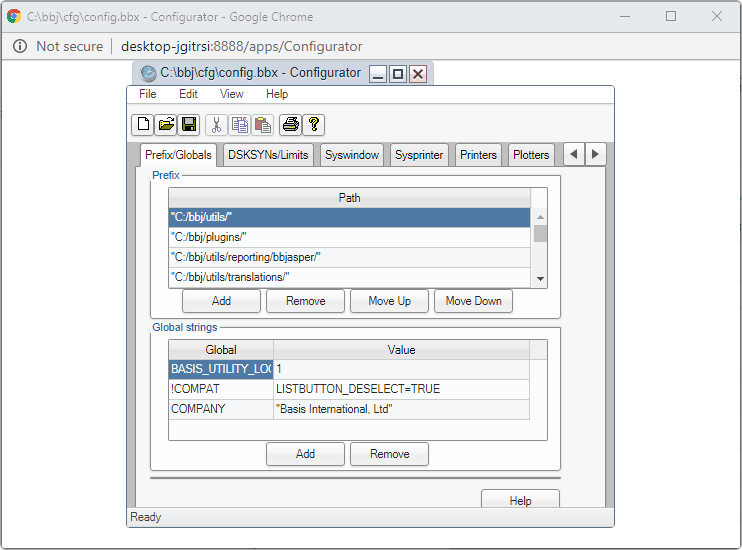
Figure 17. The Configurator Web App in a Browser -
To easily test the Desktop App, click the Launch Desktop Download button at the top of the screen as shown in Figure 18.
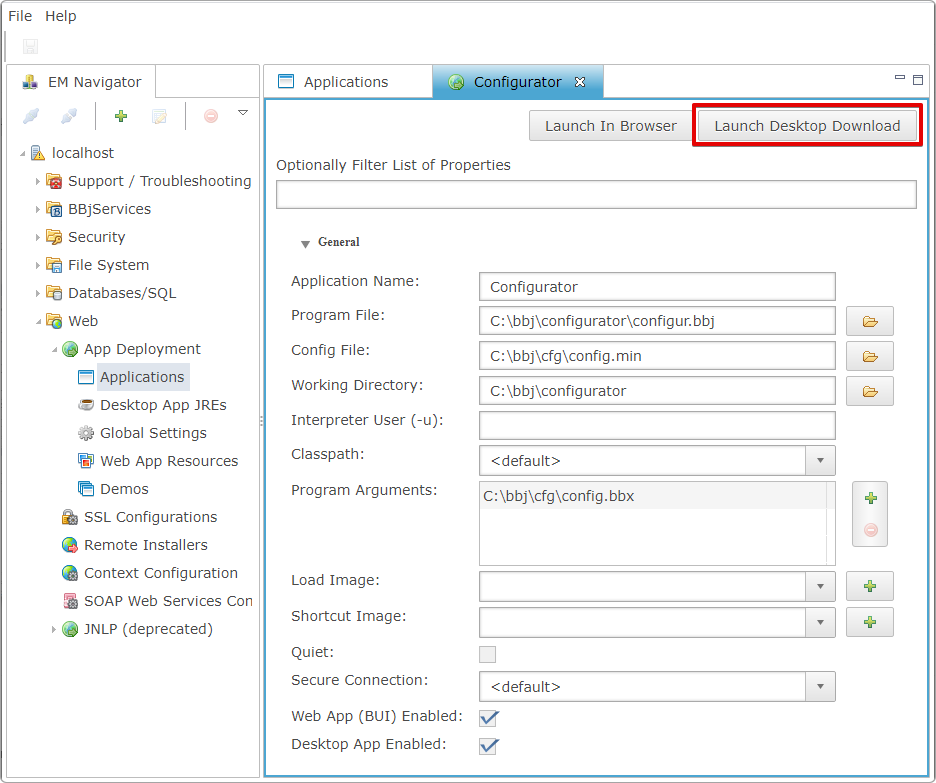
Figure 18. Launching the Desktop Download -
Select a location to save the file. When it is done downloading, open the file (Figure 19).
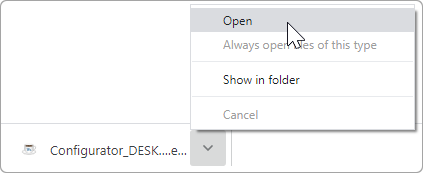
Figure 19. Opening the Downloaded File -
The Configurator program opens as a fully-functional Desktop App! Figure 20 shows the desktop application.
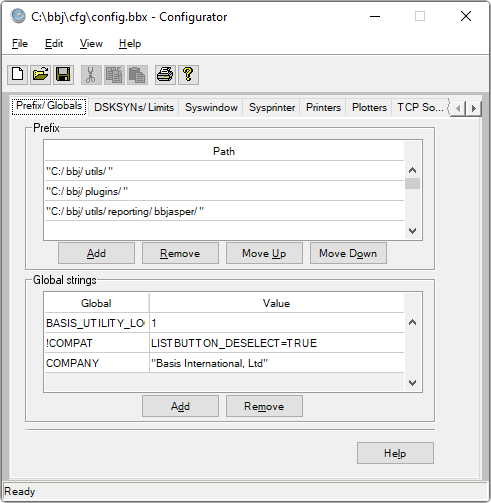
Figure 20. The Desktop App -
To view the client-side experience, navigate to the Jetty Start Page with the following URL, replacing localhost:8888 with the appropriate host and port number if BBj is not running locally:
http://localhost:8888/basisindex.html
Scroll down to the Apps section (Figure 21), where the Configurator App is available as both a Web App and a Desktop App. Congratulations! You have deployed your application, and it can now be accessed by your client computers.
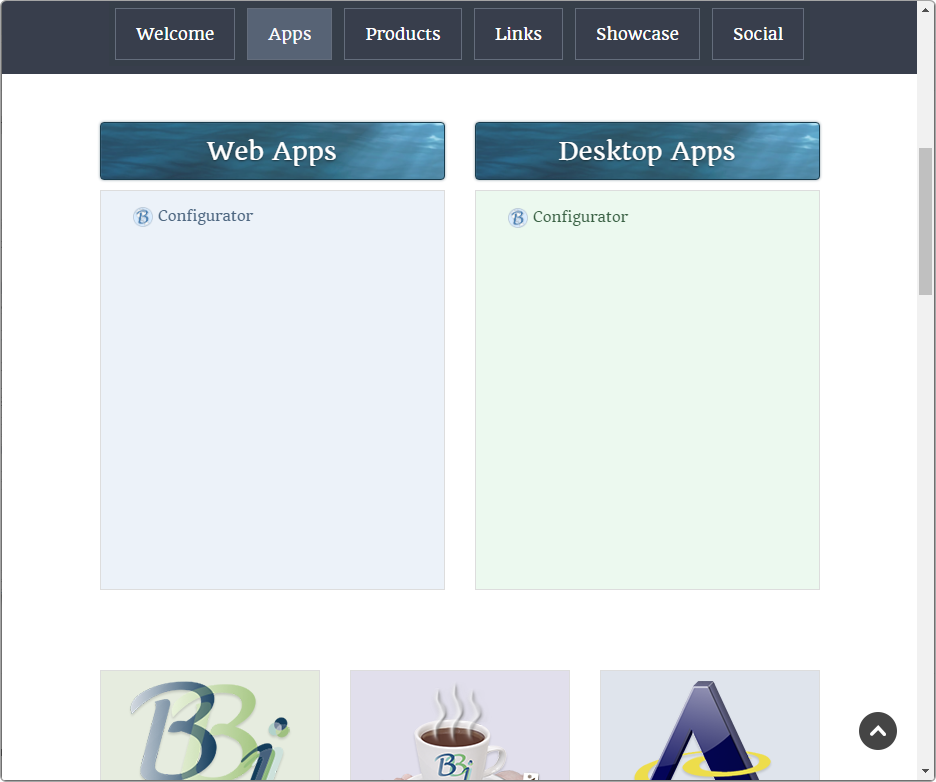
Figure 21. Jetty Start Page -
The URLs for both the Web App and the Desktop App download are also visible in the Enterprise Manager. Go back to Web > Applications, and click once on the app name to select it. The URLs for accessing the app will be shown below the list of applications (see Figure 22).
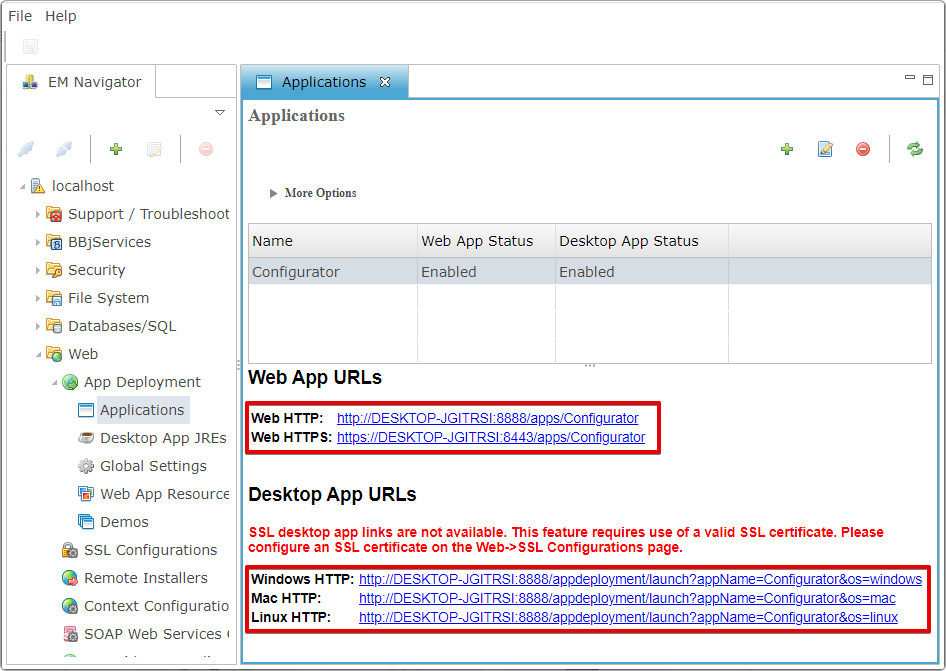
Figure 22. Web and Desktop App URLs - To edit the Application, double-click it or select it and click
the Edit button (see Figure 23) to open
the Properties tab again.
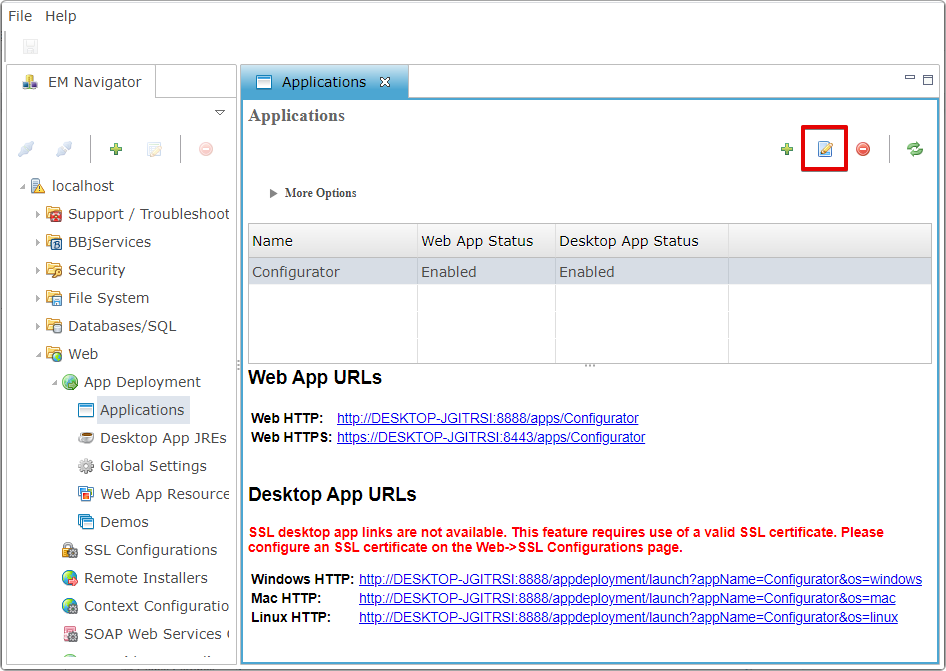
Figure 23. Editing the Application
Creating An App Deployment
Creating an App
Launching the App Deployment
Summary
You have successfully created a Deployment App in the Enterprise Manager. The URLs for that app are available from either the Jetty home page or from the EM’s Applications list. You have launched your app using both options (Web or Desktop). To update or change any properties of your app, edit it in the EM and have your clients access the new version via the appropriate URLs.