Creating a WindowBuilder Project
This topic contains the following:
- Create a BDT WindowBuilder project that can edit an arc file
- Add a Control to the BBjWindow
- Edit a property of the selected control
- Import an existing .arc file into a BBj project
- Get an existing BBj project from source control
Create a BDT WindowBuilder project that can edit an .arc file
-
For BBj 26.00 and higher, install the BDT Studio. Do this by installing BBj and marking the “BDT Studio” checkbox on the BBj Installer’s Feature Selection screen. Accessing the BDT plug-ins in the BDT Studio, supersedes using the Eclipse IDE.
For older BBj versions, install or update the BDT WindowBuilder plug-in from inside Eclipse by following the instructions on the Eclipse Plug-Ins page.
-
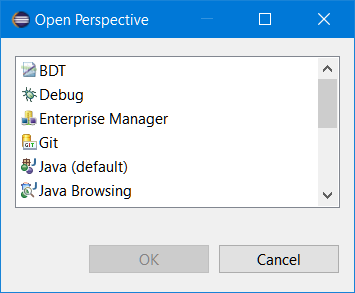
Open the BDT perspective from the main menu: Window > Perspective> Open Perspective.
-
If ‘BDT’ is available, select it; otherwise, select ‘Other’, and then choose BDT and click [OK].
Note: At this point if you are in a new workspace, BDT will provide notification that a valid BBj Installation needs to be selected. Click the two [Search] buttons offered, then navigate to a BBj that is valid for the version of BDT installed, and then click [Finish]. -
Ensure the BDT Explorer view is visible and active; if it is not, from the main menu select Window > Show View > BDT Explorer.

-
Create a new BBj project; from the main menu: File > New > BBj Project.
-
Enter a 'Project name' such as WBProj and click [Finish].
-
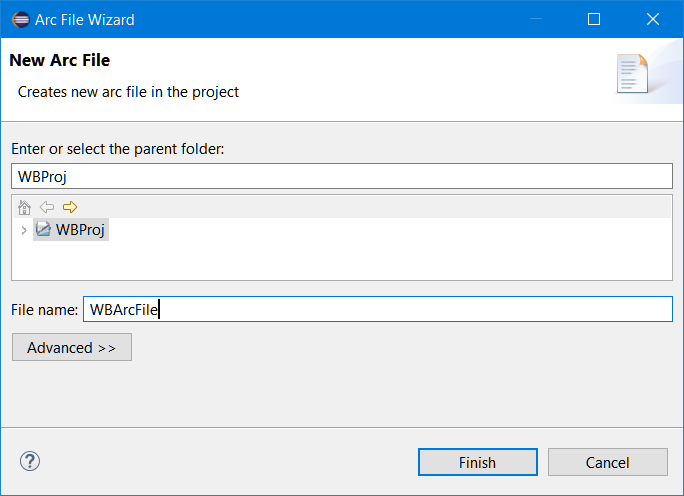
Create a new arc file by right-clicking the newly created WBProj entry in the BDT Explorer and selecting New > Arc File. This opens the Arc File Wizard.
-
Enter a ‘File name’ such as "WBArcFile" and click [Finish].
-
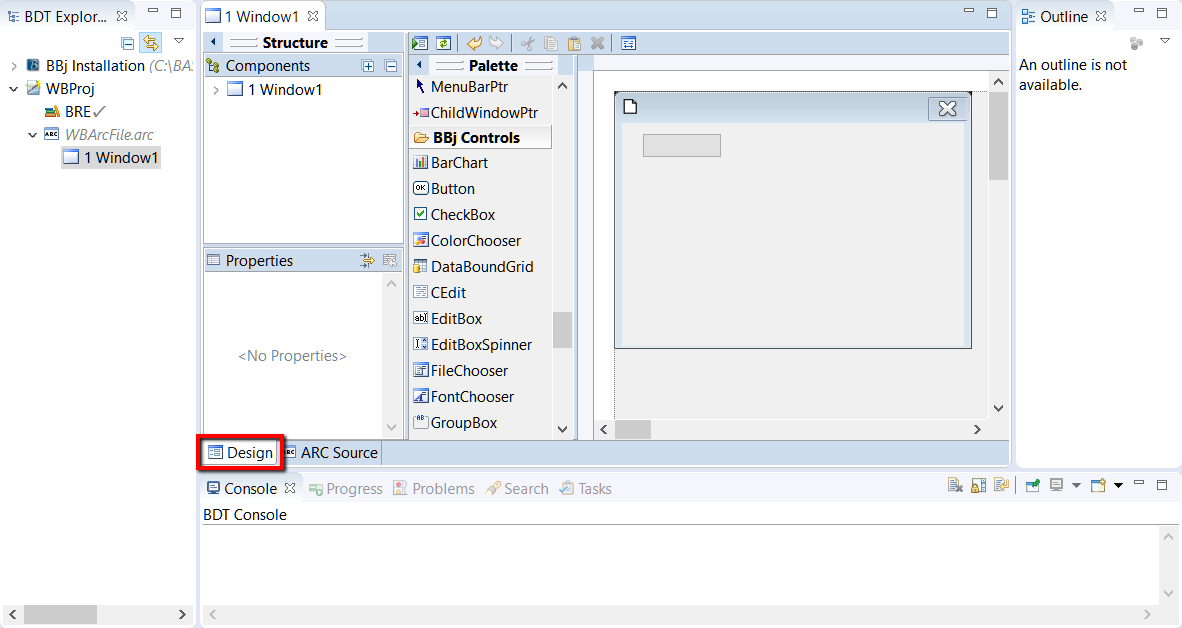
The arc file will open in the BDT WindowBuilder arc file editor with the Design tab selected at the bottom of the editor display
-
If any palettes are showing in the center pane titled ‘Palette’, then hide them. Right-click any control on any palette and select ‘Palette manager...’.

-
Uncheck every palette in the list that does not begin with "BBj" and click [OK].
Add a Control to the Top Level Window (the light gray area):
- Click on any control in a BBj palette, for example a BBjInputE
in the ‘BBj Controls’ palette.
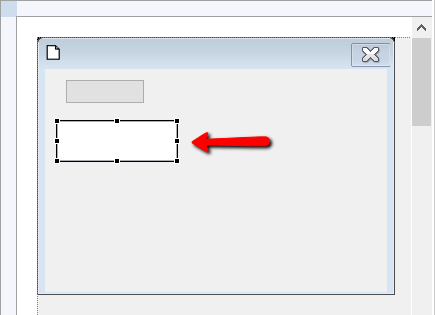
- Move the mouse over the Top Level Window (the light gray drawing area to the right
of the Palette); when the control is where you would like
it inside the window, click the mouse to ‘drop’ it.
Edit a property of the selected control
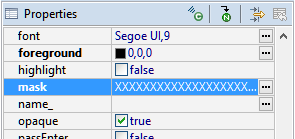
- While the BBjInputE control is selected, scroll as necessary in
the Properties panel and click on the value of the ‘mask’ property
(containing a series of X characters).
- Alternatively, click on the ellipsis button on the far right to
open a String editor.
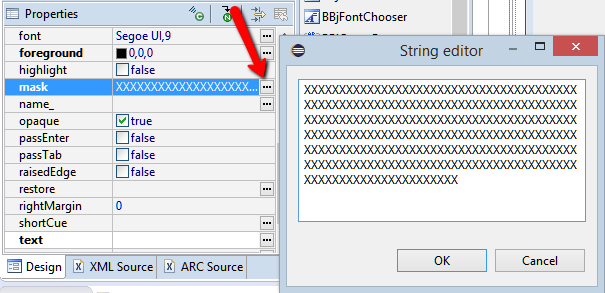
- In either case, set the value to "XX_XXXXXXX" (without the quotes) and hit the Enter key or click the [OK] button to apply your changes
Import an existing .arc file into a BBj project
-
If you do not already have a BBj project, create one following the steps outlined above.
-
With your BBj project selected in the BDT Explorer, select File > Import in the main menu.
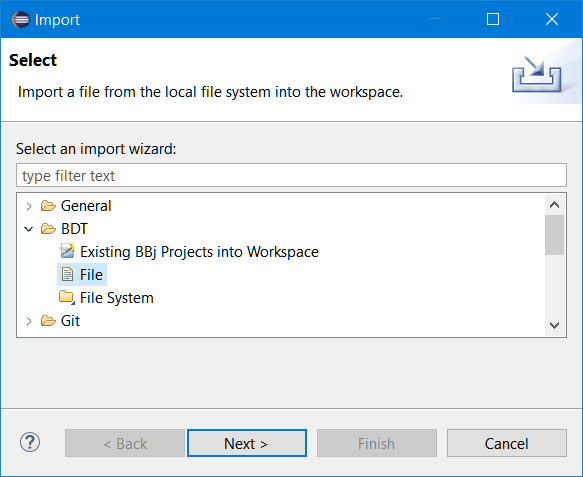
-
Choose BDT > File and click [Next]; this opens the File Import Wizard.
-
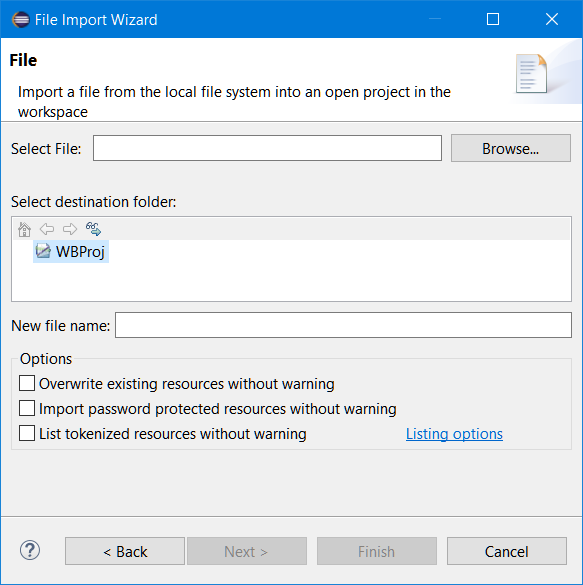
Click [Browse].
-
Navigate to and select your arc file, and click [Open].
-
Enter or select a destination folder for the arc file.
-
Optionally, edit the name of the file in the “New file name” field.
-
Click [Finish].
-
Expand your new arc file in the BDT Explorer and double-click any of the Top Level Components displayed there to open a WindowBuilder editor.
By default, your arc file displays the “Design” tab. To see the actual arc file text, click the "ARC Source" tab at the bottom of the display of your file.
Get an existing BBj project from source control
-
Install or update the BDT plug-in from inside Eclipse or at https://www.basis.cloud/eclipseplug-ins.
-
Open the BDT perspective from the main menu: Window > Perspective > Open Perspective.
-
If ‘BDT’ is available, select it; otherwise, select ‘Other’, and then choose BDT and click [OK].
-
Ensure the BDT Explorer view is visible and active; if it is not, from the main menu select Window > Show View > BDT Explorer.
-
To create a new BBj project by checking out an existing project from source control (this example checks out from Subversion): File > New > Other to open the ‘New/Select a wizard’ window.
-
Select SVN/Checkout projects from SVN (or the equivalent for your tool - the plugin “SVN’ is only available if it is installed in Eclipse) and click [Next].
-
Choose a repository and browse to its existing project you want to checkout, and click [Finish].
-
Select “Check out as a project configured using the New Project Wizard” and click [Finish].
-
Expand the BDT group, select ‘BBj Project’, then click [Next].
-
Enter a new name for the BBj project and click “Finish”; the new project will appear in the BDT Explorer.