Accounts Receivable - Customer Name Listing
Function
The Customer Name Listing task prints account numbers and names for customers by selected salesperson, territory, terms code, or customer type.
=> To access this task...
Select Customer Name Listing from the Reports menu.
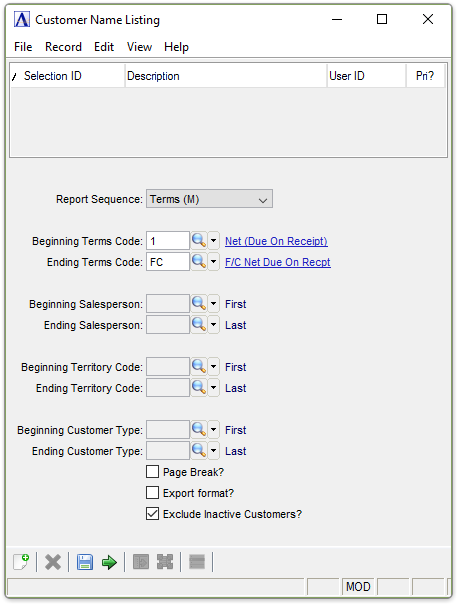
Customer Name Listing
About the Fields
From the Report Sequence dropdown...
-
Select Terms (M) to print customer names by terms code.
-
Select Salesperson (S) to print names by salesperson code.
-
Select Territory (T) to print names by territory code.
-
Select Type (Y) to print by customer type.
In the Beginning/Ending Terms Code field...
These fields are active when Terms (M) is selected at the Report Sequence step.
-
Enter the starting/ending terms code. The report will begin/end from this code.
-
Press [Enter] to start with the first/last code.
-
Click
 to select from a list of codes.
In the Beginning/Ending Salesperson field...
These fields are active when Salesperson (S) is selected at the Report Sequence step.
-
Enter beginning/ending salesperson code.
-
Press [Enter] to begin/end with the first/last code on file.
-
Click
to select from a list of codes.
In the Beginning/Ending Territory Code field...
These fields are active when Territory (T) is selected at the Report Sequence step.
-
Enter beginning/ending territory code.
-
Press [Enter] to begin/end with the first/last territory code on file.
-
Click
to select from a list of codes.
In the Beginning/Ending Customer Type Code field...
These fields are active when Type (Y) is selected at the Report Sequence step.- Enter the beginning/ending customer type code.
-
Press [Enter] for the first/last possible customer type code.
-
Click
to select from a list of codes.
Page Break? checkbox...
-
Mark the box to insert page breaks.
-
Unmark box to not insert page breaks.
Export Format? checkbox...
-
Mark the box to show the printed report in columnar format.
-
Unmark box to show in non-columnar format.
Exclude Inactive Customers? checkbox...
-
Mark the box (default) to exclude inactive customers.
-
Unmark the box to include all customer.
When done making selections...
-
Click
 to create the listing.
 -
Click
 to clear the form and begin again.
Clicking causes the module to issue this confirmation:
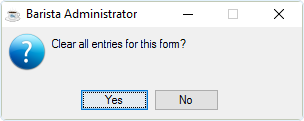
Clear Entries
-
Click [Yes] to clear the selections made in the Customer Labels form.
-
Click [No] to return to the Customer Labels form.
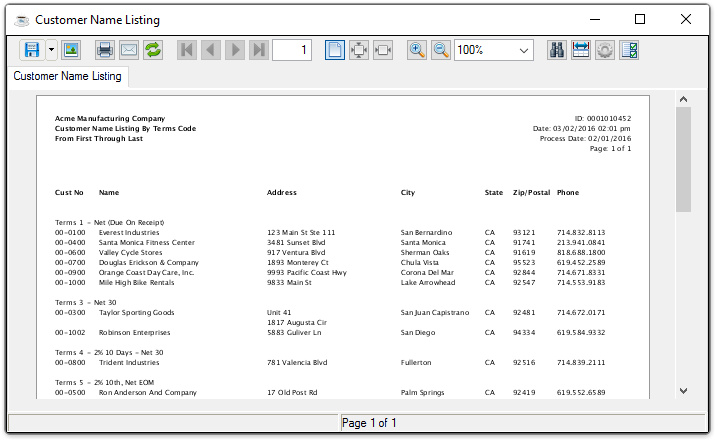
Sample Customer Name Listing
See Output Options.
______________________________________________________________________________________
Copyright BASIS International Ltd. AddonSoftware® and Barista® Application Framework are registered trademarks.