Accounts Receivable - Invoice Date Modification Entry
Function
The Invoice Date Modification Entry task allows modification of terms code, invoice date, due date, and discount date for customer open invoices.
To access this task...
Select Invoice Date Modification Entry from the Utilities menu.
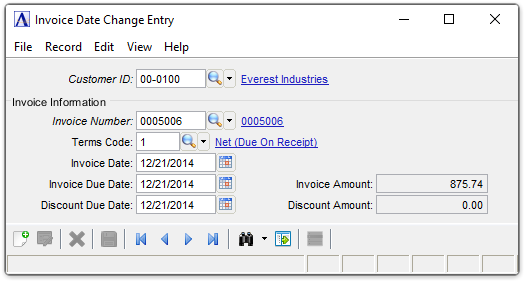
Invoice Date Change Entry
NOTE:
This task will modify the invoice date, due date, and discount due, or any combination of the three. It does not, however, modify dates in Invoice History Inquiries. Care should be taken when using this task that associated general ledger transactions are adjusted as well.
About the Fields
In the Customer ID field...
-
Enter a valid customer ID.
-
Click
") to select
from a list of valid customer numbers.
to select
from a list of valid customer numbers.
In the Invoice Number field...
-
Enter a seven-digit invoice number.
NOTE:
If the invoice is already in the module, you will not be able to enter the transaction. To adjust invoices, refer to Cash Receipts Entry or Simple Invoice Entry.
In the Terms Code field...
-
Enter a valid term code.
-
Click
to select
from a list of valid Terms codes.
The description of the code is displayed. The terms code will determine the invoice due date and discount due date using the invoice date as a basis for calculation.
In the Invoice Date field...
-
Enter the date that the invoice is to be posted to General Ledger.
-
Click
") to use the calendar tool to set the date.
to use the calendar tool to set the date.
This date is used as the reference point by the terms code to determine the due date and discount due date of the invoice. These dates are displayed and may be overridden if desired.
Example
When the invoice date is 10/10/08 and the terms code is 2% 10 NET 30, the discount is due 10/20/08 and the invoice is due 11/09/08.
In the Invoice Due Date field...
-
Enter the date that the net invoice is due.
-
Click
to set date.
In the Discount Due Date field...
-
Enter the date that a discount is given if payment is received.
-
Click
to use the calendar tool to set the date.
Example
When the discount due date is 10/20/08, the customer may receive a discount (if applicable) by paying on or before this date.
Attempting to exit without saving a modified record, causes the following prompt to display:
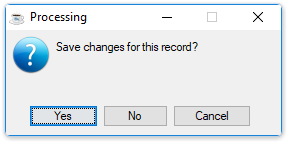
Save changes for this record?
-
Click Yes to save the current record and cursor focuses on the Customer ID field for the next new entry.
-
Click No to discard the current record and the cursor focuses on the Customer ID field for the next new entry.
-
Click Cancel to retain the record.
When finished making selections...
-
Click
") to save
the changes.
to save
the changes. -
Click
") to clear the form and begin again.
to clear the form and begin again.